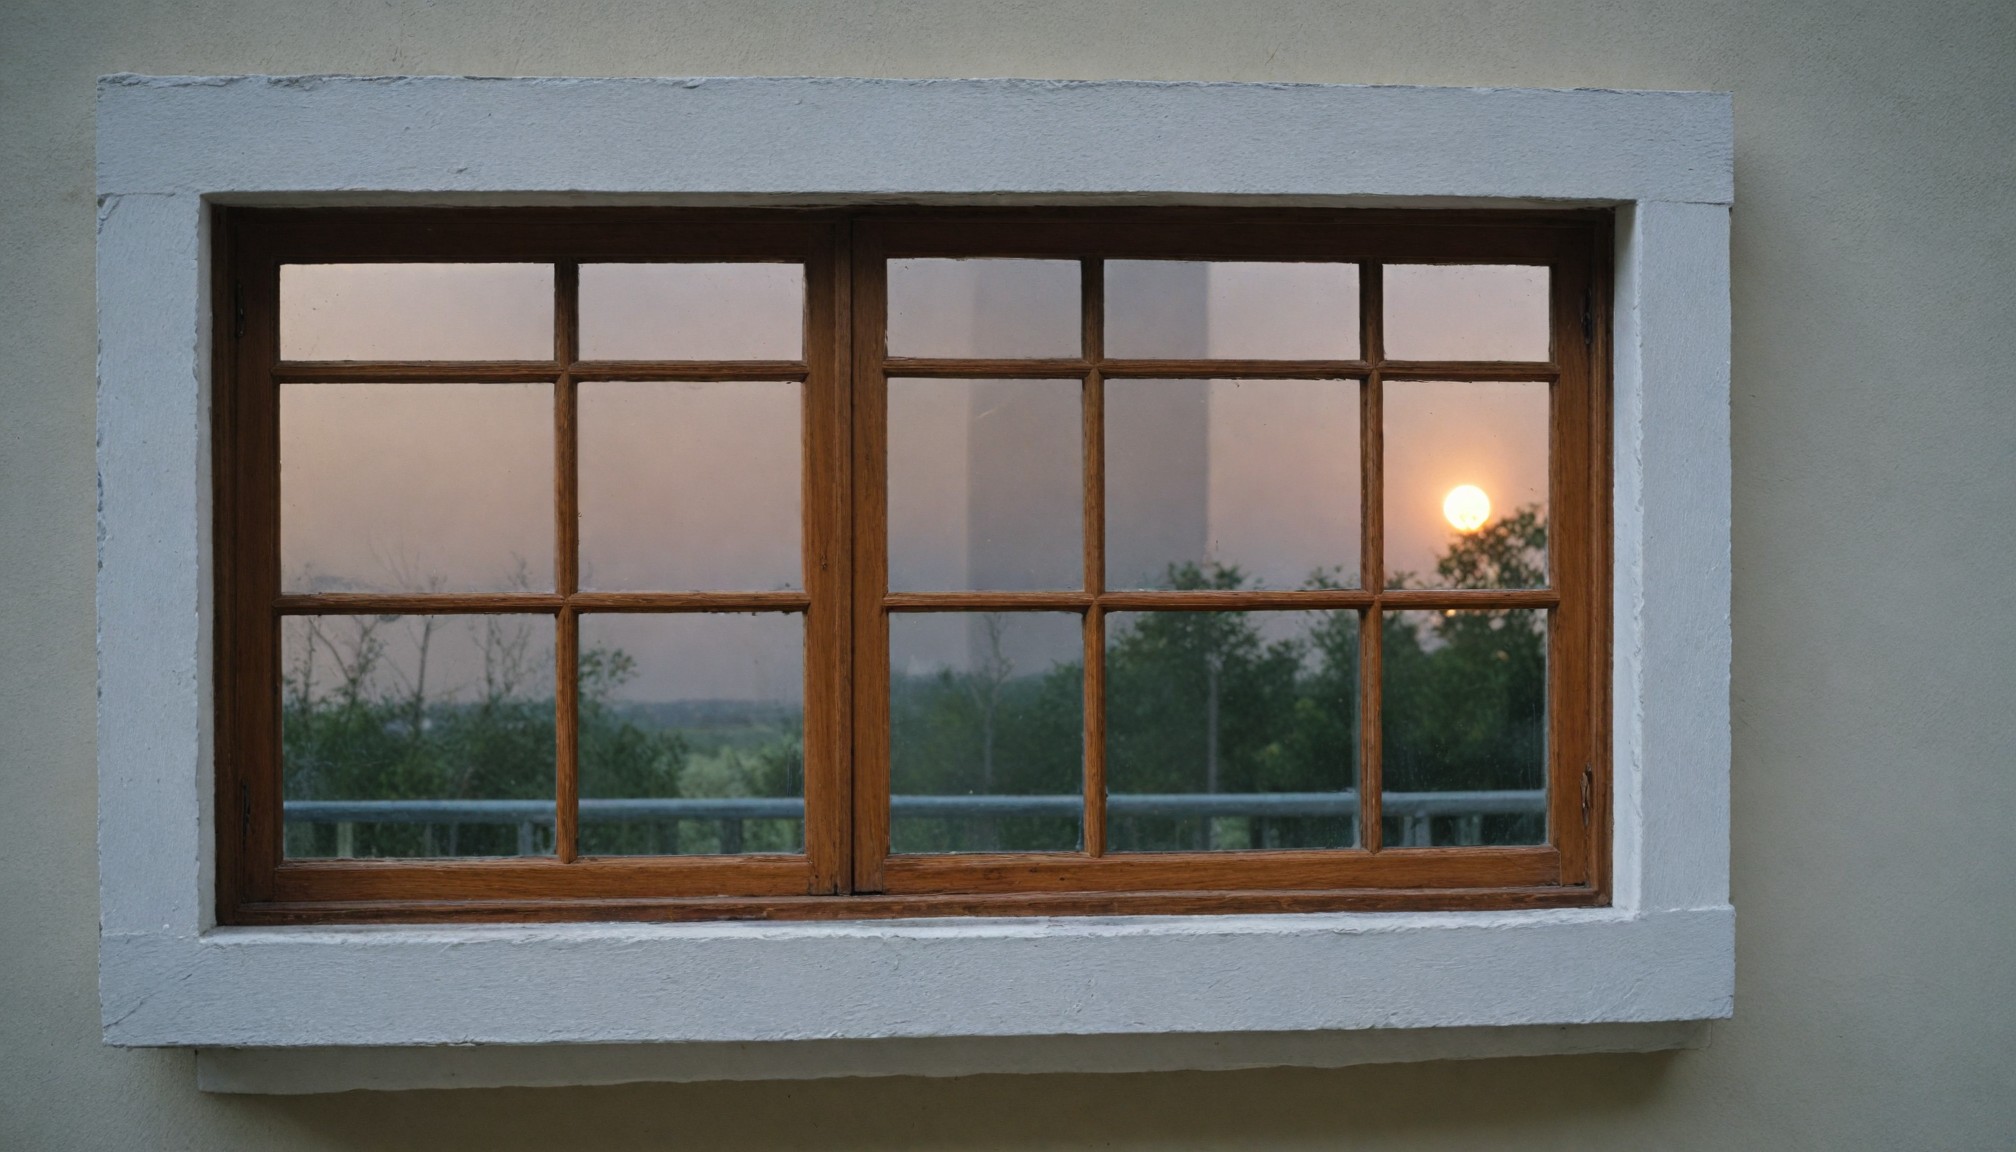
Window Frame Mirror
A unique and stylish way to add a touch of vintage charm to your home
Looking for a one-of-a-kind piece of decor? Repurposing an old window frame into a mirror is a fun and creative project that's perfect for DIY enthusiasts. This project is a great way to add a touch of vintage charm to your home while reducing waste.
Materials:
- Old window frame
- Mirror glass (cut to size)
- Wood glue
- Clamps
- Paint or stain (optional)
- Protective sealant
- Level
Instructions:
- Prepare the Window Frame: Clean the window frame thoroughly to remove any dirt or grime. If desired, you can paint or stain the frame to your preferred color or finish.
- Measure and Cut Mirror: Measure the interior dimensions of the window frame and cut the mirror glass to size.
- Apply Glue: Apply a generous amount of wood glue to the back of the mirror glass.
- Position the Mirror: Carefully place the mirror glass inside the window frame, ensuring it's centered and level.
- Secure the Mirror: Clamp the mirror in place until the glue is completely dry.
- Seal the Edges (optional): If you want to protect the edges of the mirror, you can apply a thin bead of wood glue around the perimeter and clamp it in place until dry.
- Hang the Mirror: Hang the mirror on your wall using appropriate hanging hardware.
Tips:
- Choose the right frame: Look for a window frame that's in good condition and has a style that complements your home decor.
- Measure carefully: Ensure the mirror glass is cut to the exact size of the window frame to ensure a snug fit.
- Use a level: Make sure the mirror is hung level for a polished look.
- Consider the weight: If the mirror is heavy, use sturdy hanging hardware to prevent it from falling.
By repurposing an old window frame, you're creating a unique and stylish piece of decor that's both functional and eco-friendly. This DIY project is a great way to add a touch of vintage charm to your home while reducing waste.
Recent articles from Diy
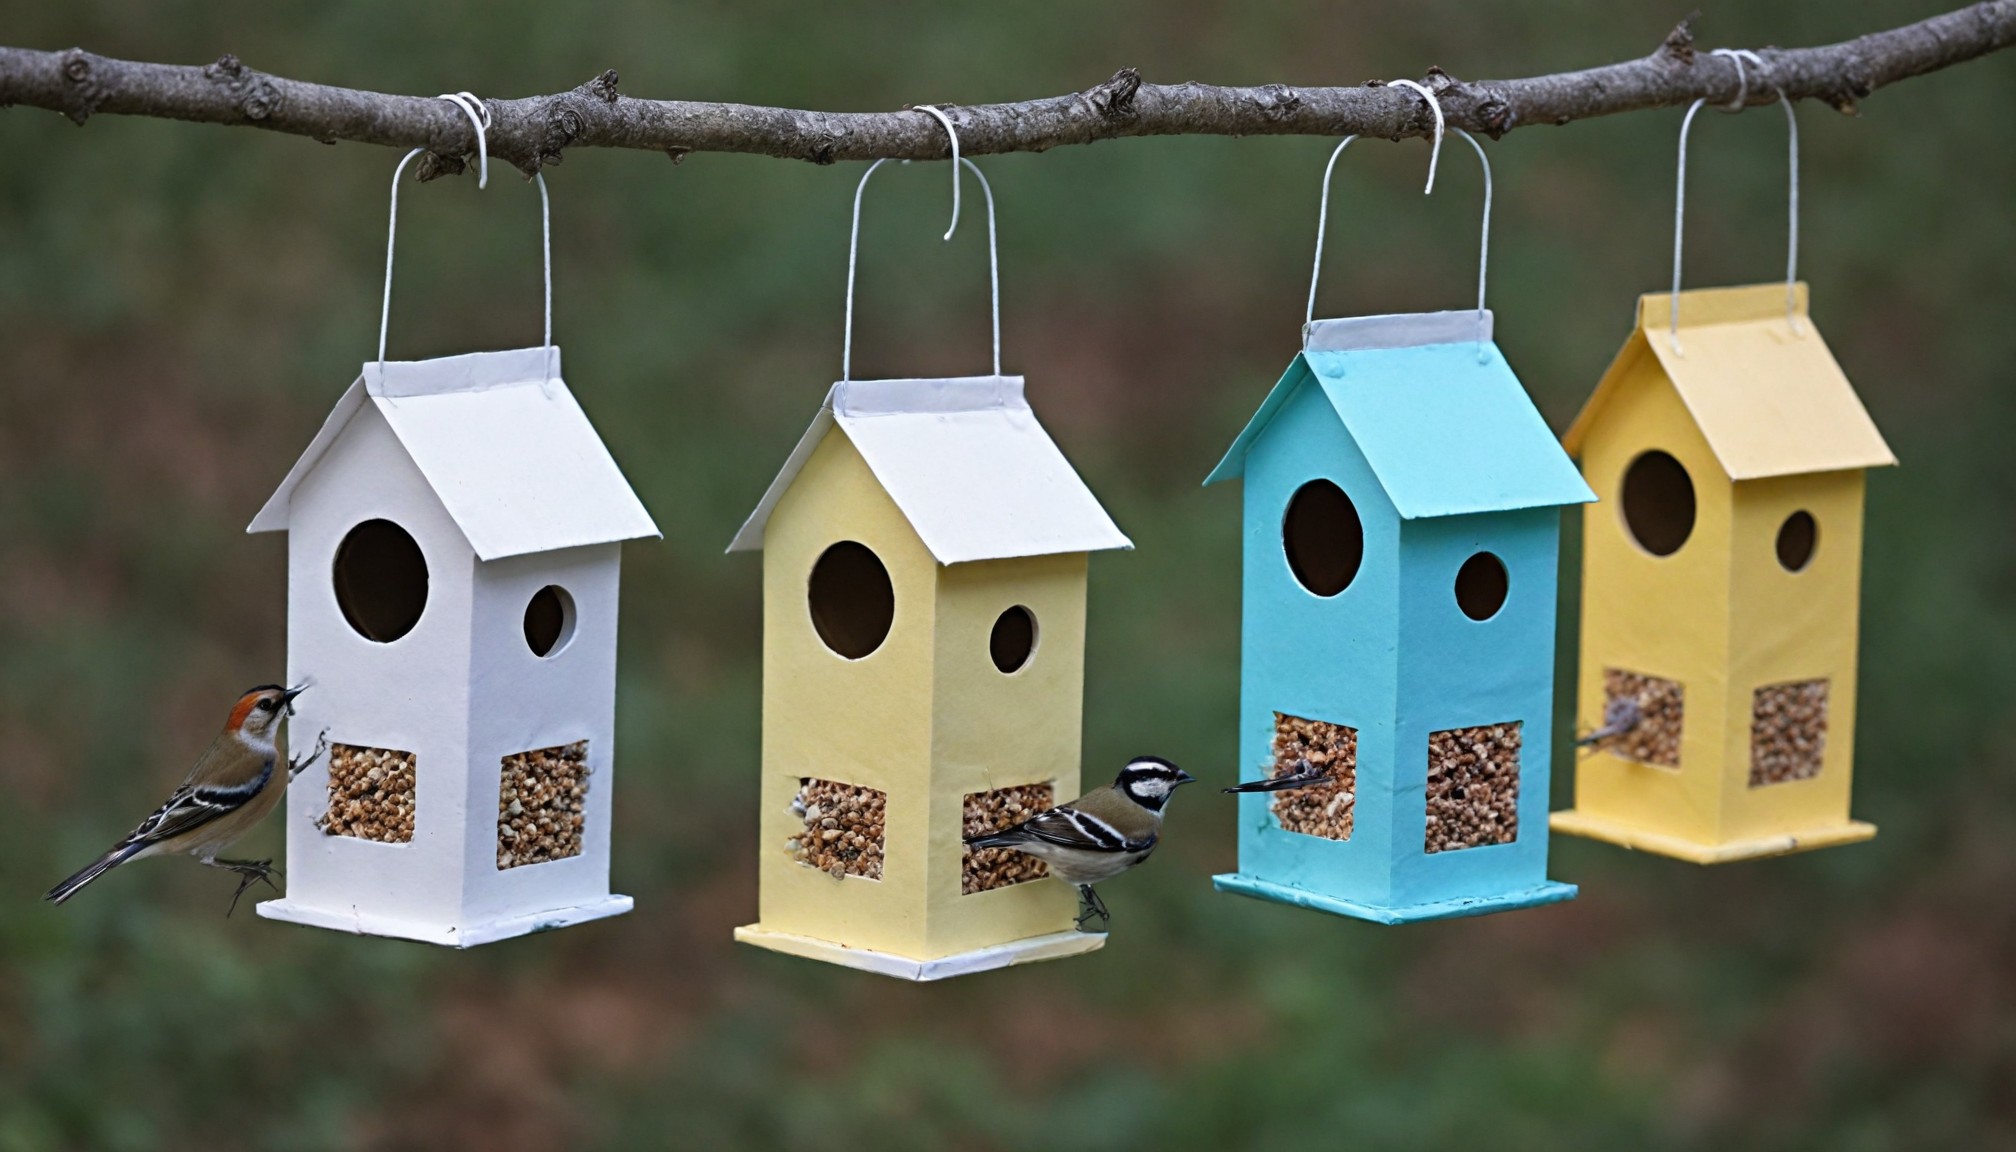
DIY Bird Feeders from Milk Cartons
A simple and sustainable way to attract feathered friends to your backyard
Looking for a quick and easy way to attract birds to your garden? Repurposing old milk cartons i...
Window Frame Mirror
A unique and stylish way to add a touch of vintage charm to your home
Looking for a one-of-a-kind piece of decor? Repurposing an old window frame into a mirror is a fun an...
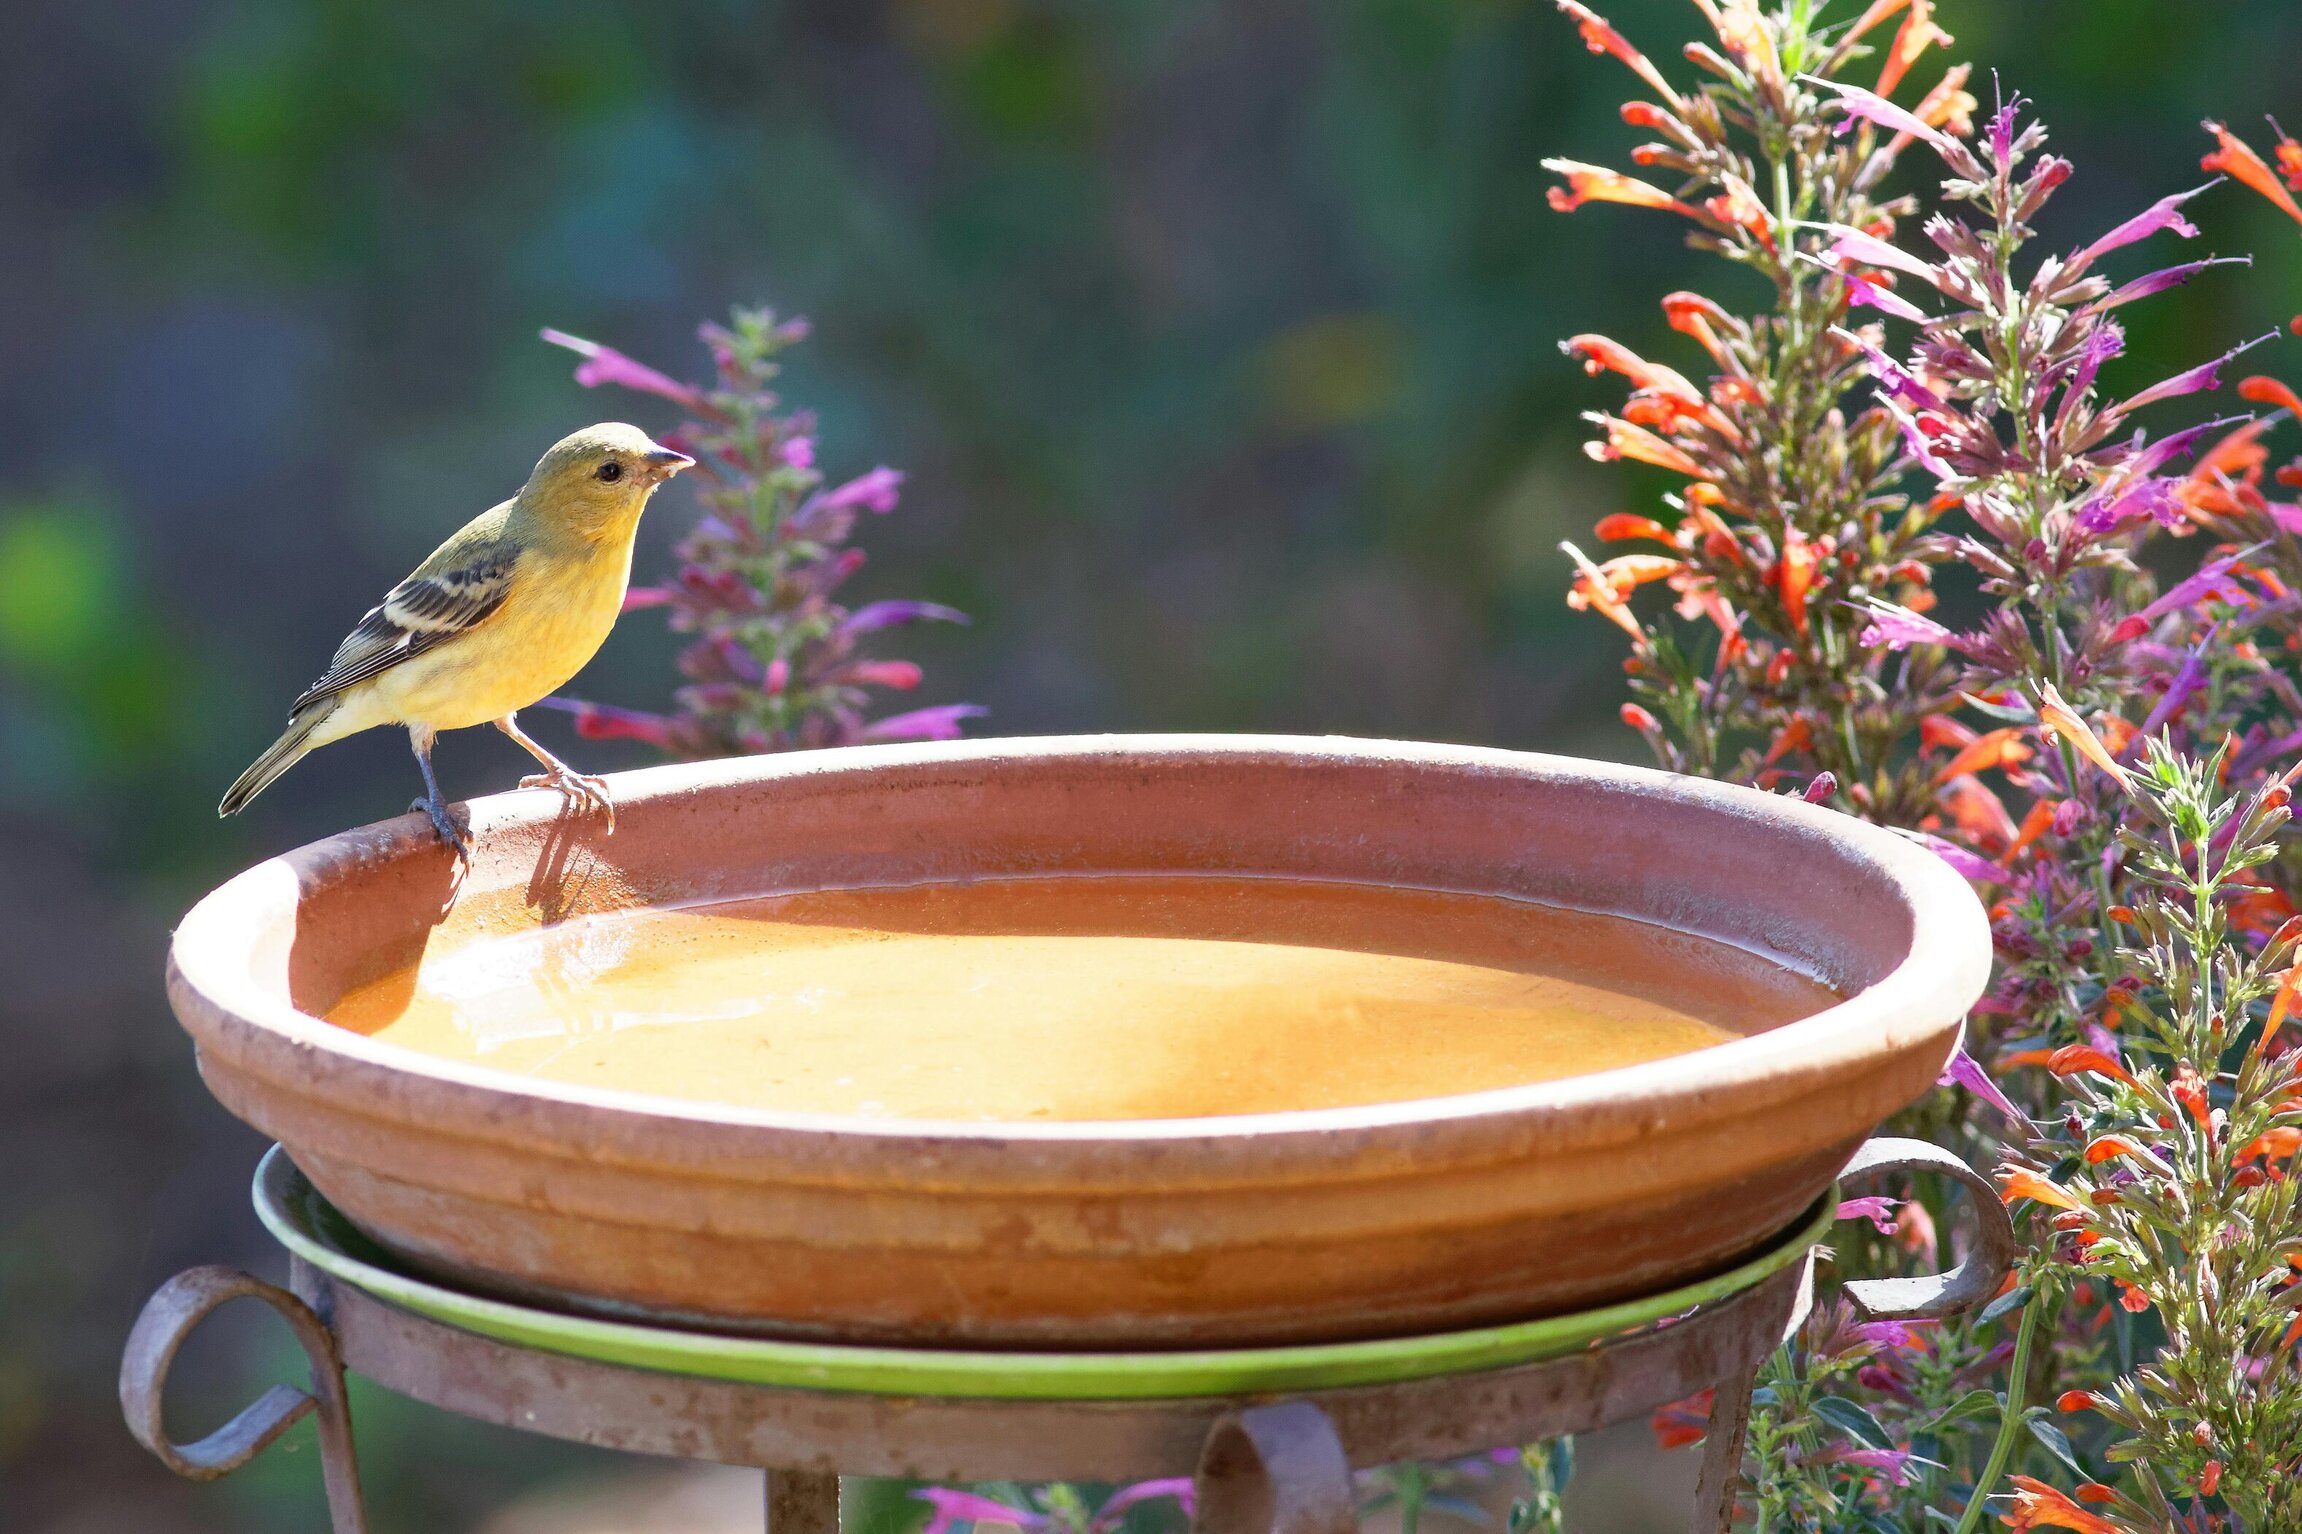
DIY Terracotta Pot Bird Bath: A Charming Addition to Your Garden
A terracotta pot bird bath is a charming and functional addition to any garden. It provides a refreshing water source for local wildlife and adds a touch of rustic elegance to your outdoor space...