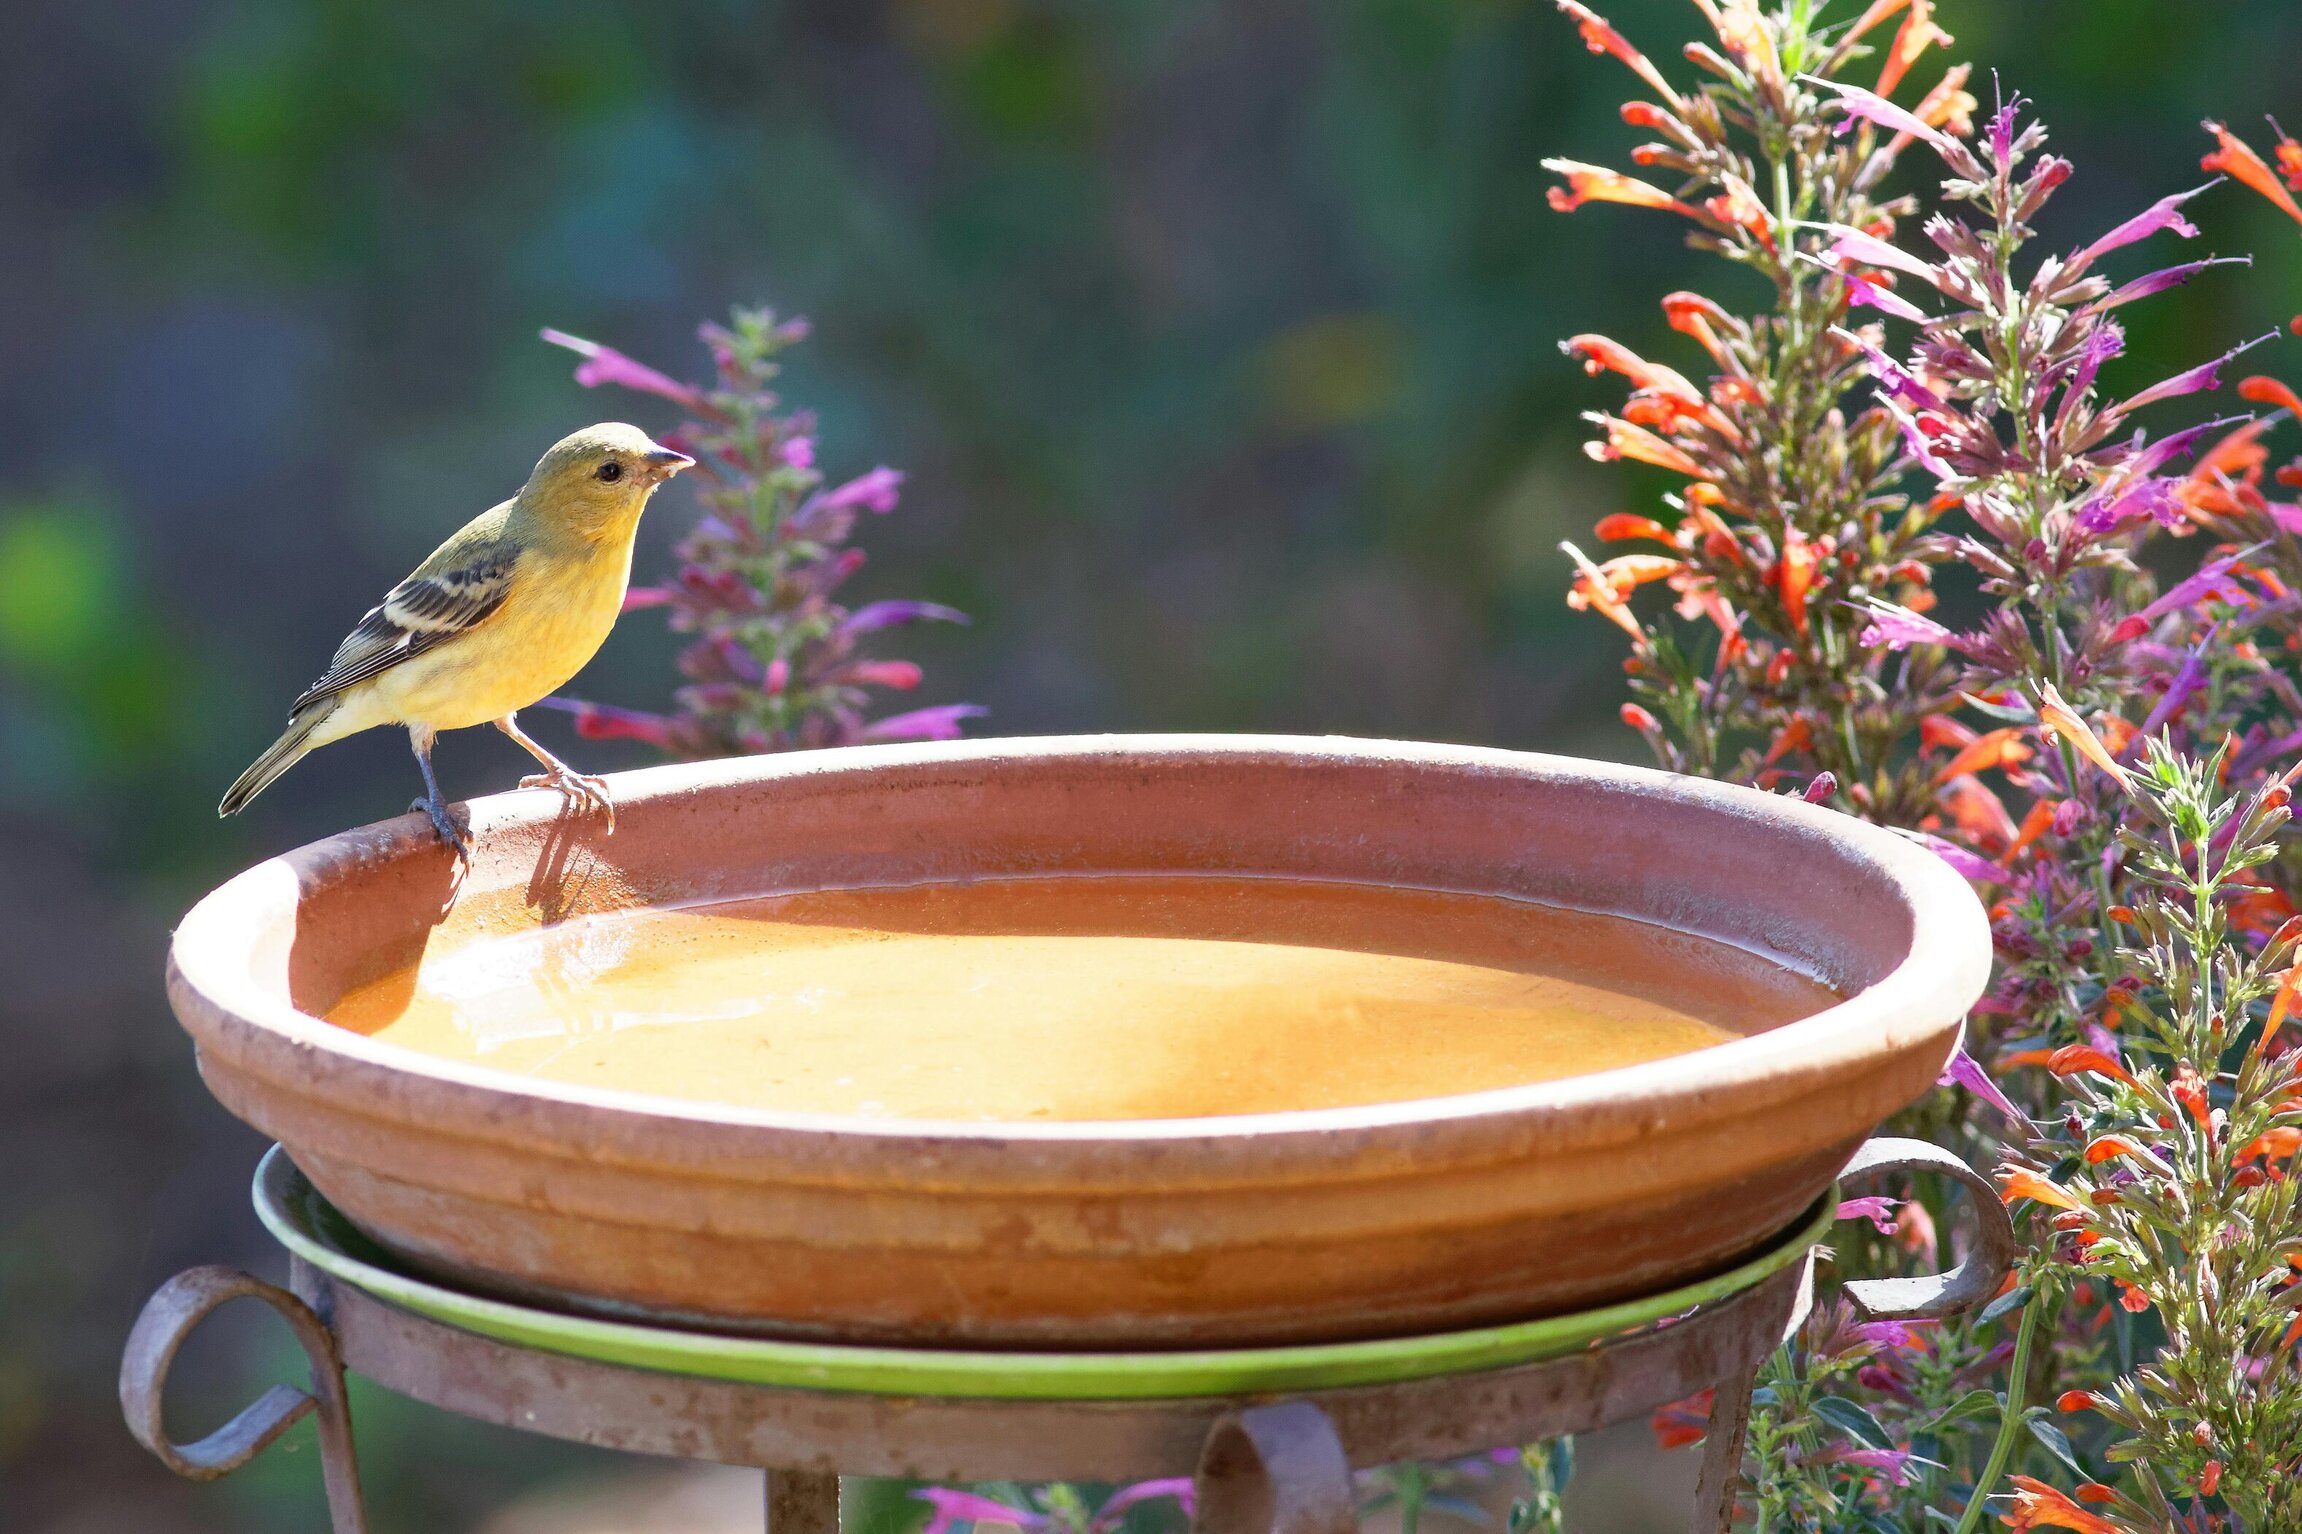
DIY Terracotta Pot Bird Bath: A Charming Addition to Your Garden
A terracotta pot bird bath is a charming and functional addition to any garden. It provides a refreshing water source for local wildlife and adds a touch of rustic elegance to your outdoor space. Plus, creating one is a fun and simple DIY project that can be completed in a few hours. Here’s a step-by-step guide to making your own terracotta pot bird bath.
Materials You’ll Need:
- Terracotta pots (various sizes)
- Terracotta saucer (for the bird bath basin)
- Acrylic paint or waterproof sealant (optional, for decorating)
- Strong adhesive (such as E6000 or construction adhesive)
- Drill with a masonry bit (if drilling holes)
- Gravel or small stones (for added stability)
- Paintbrushes (if painting)
Step 1: Choose Your Pots
The base of your bird bath will be constructed from a stack of terracotta pots. You can use different sizes to create a tiered effect, or stick with pots of the same size for a more uniform look. The pot you choose for the base should be larger and more stable to support the bird bath.
Tip: Select pots with a clean, unbroken surface for the best results.
Step 2: Prepare the Base
To create a sturdy base for your bird bath, stack the terracotta pots. Here’s how:
- Stack the Pots: Start with the largest pot as the base. Apply a generous amount of adhesive to the top rim of this pot.
- Add the Next Pot: Place the next largest pot on top of the base pot, aligning it carefully. Press down gently to secure it.
- Repeat: Continue stacking and securing additional pots in descending size order, finishing with the smallest pot at the top.
Tip: For added stability, you can also place a layer of gravel or small stones inside each pot before stacking them. This will help weigh down the structure and keep it from tipping over.
Step 3: Attach the Basin
The basin of your bird bath is a terracotta saucer that will hold the water.
- Prepare the Saucer: If you want to paint or decorate the saucer, now is the time to do so. Use acrylic paint for custom designs or a waterproof sealant to protect it from the elements.
- Attach the Saucer: Once the adhesive on the pot stack has dried and cured, apply adhesive to the bottom of the saucer and place it on top of the smallest pot. Press gently to ensure it sticks securely.
Step 4: Finishing Touches
Once the adhesive has set, you can add some final touches to your bird bath:
- Paint and Decorate: If you didn’t paint the saucer earlier, you can now add designs or color to the entire structure. Use weather-resistant paint to ensure longevity.
- Seal the Pot: Applying a coat of waterproof sealant over the entire bird bath can help protect it from the elements and prevent cracking.
Tip: You can also add decorative elements like small stones or tiles to the saucer's edge for a custom look.
Step 5: Place the Bird Bath
Choose a location in your garden where the bird bath will be visible and accessible for birds but not in direct sunlight for long periods (to prevent algae growth).
- Position the Bird Bath: Place the bird bath on a flat, stable surface. If the ground is uneven, use a level to adjust the base or add additional stones underneath to stabilize it.
- Fill with Water: Fill the saucer with fresh water. Change the water regularly to keep it clean and inviting for birds.
Step 6: Enjoy and Maintain
Your terracotta pot bird bath is now ready to use. Observe the wildlife that visits and enjoy the added beauty it brings to your garden.
- Regular Cleaning: To keep the bird bath in good condition, clean it periodically with a brush and mild soap to remove any algae or debris.
- Monitor Stability: Check the stability of the bird bath occasionally, especially after heavy rain or strong winds, to ensure it remains secure.
Conclusion
Creating a DIY terracotta pot bird bath is a rewarding and enjoyable project that enhances your garden’s charm and provides a valuable resource for local birds. With just a few materials and a bit of creativity, you can craft a beautiful, functional piece that brings nature closer to home. Whether you’re an experienced gardener or a beginner DIY enthusiast, this project is a great way to add personality and purpose to your outdoor space. So gather your materials, get creative, and enjoy the beauty and serenity of your new bird bath!
Recent articles from Diy

How to Make Stained Glass at Home: 3 Effective Methods
Stained glass was once used to adorn churches and temples. Over time, it became a popular element in the design of administrative and residential buildings. Even today, these glass artworks rema...

DIY Reusable Shopping Bags from Old T-Shirts
Tired of single-use plastic bags? Turn your old t-shirts into eco-friendly, reusable shopping bags! It's a simple, satisfying project that helps reduce waste and saves you money.
M...

DIY Pallet Coffee Table: Rustic Charm in 4 Easy Steps
Introduction: Want to bring a touch of rustic charm to your living room? A DIY pallet coffee table is the perfect weekend project that adds character and functionality to your s...