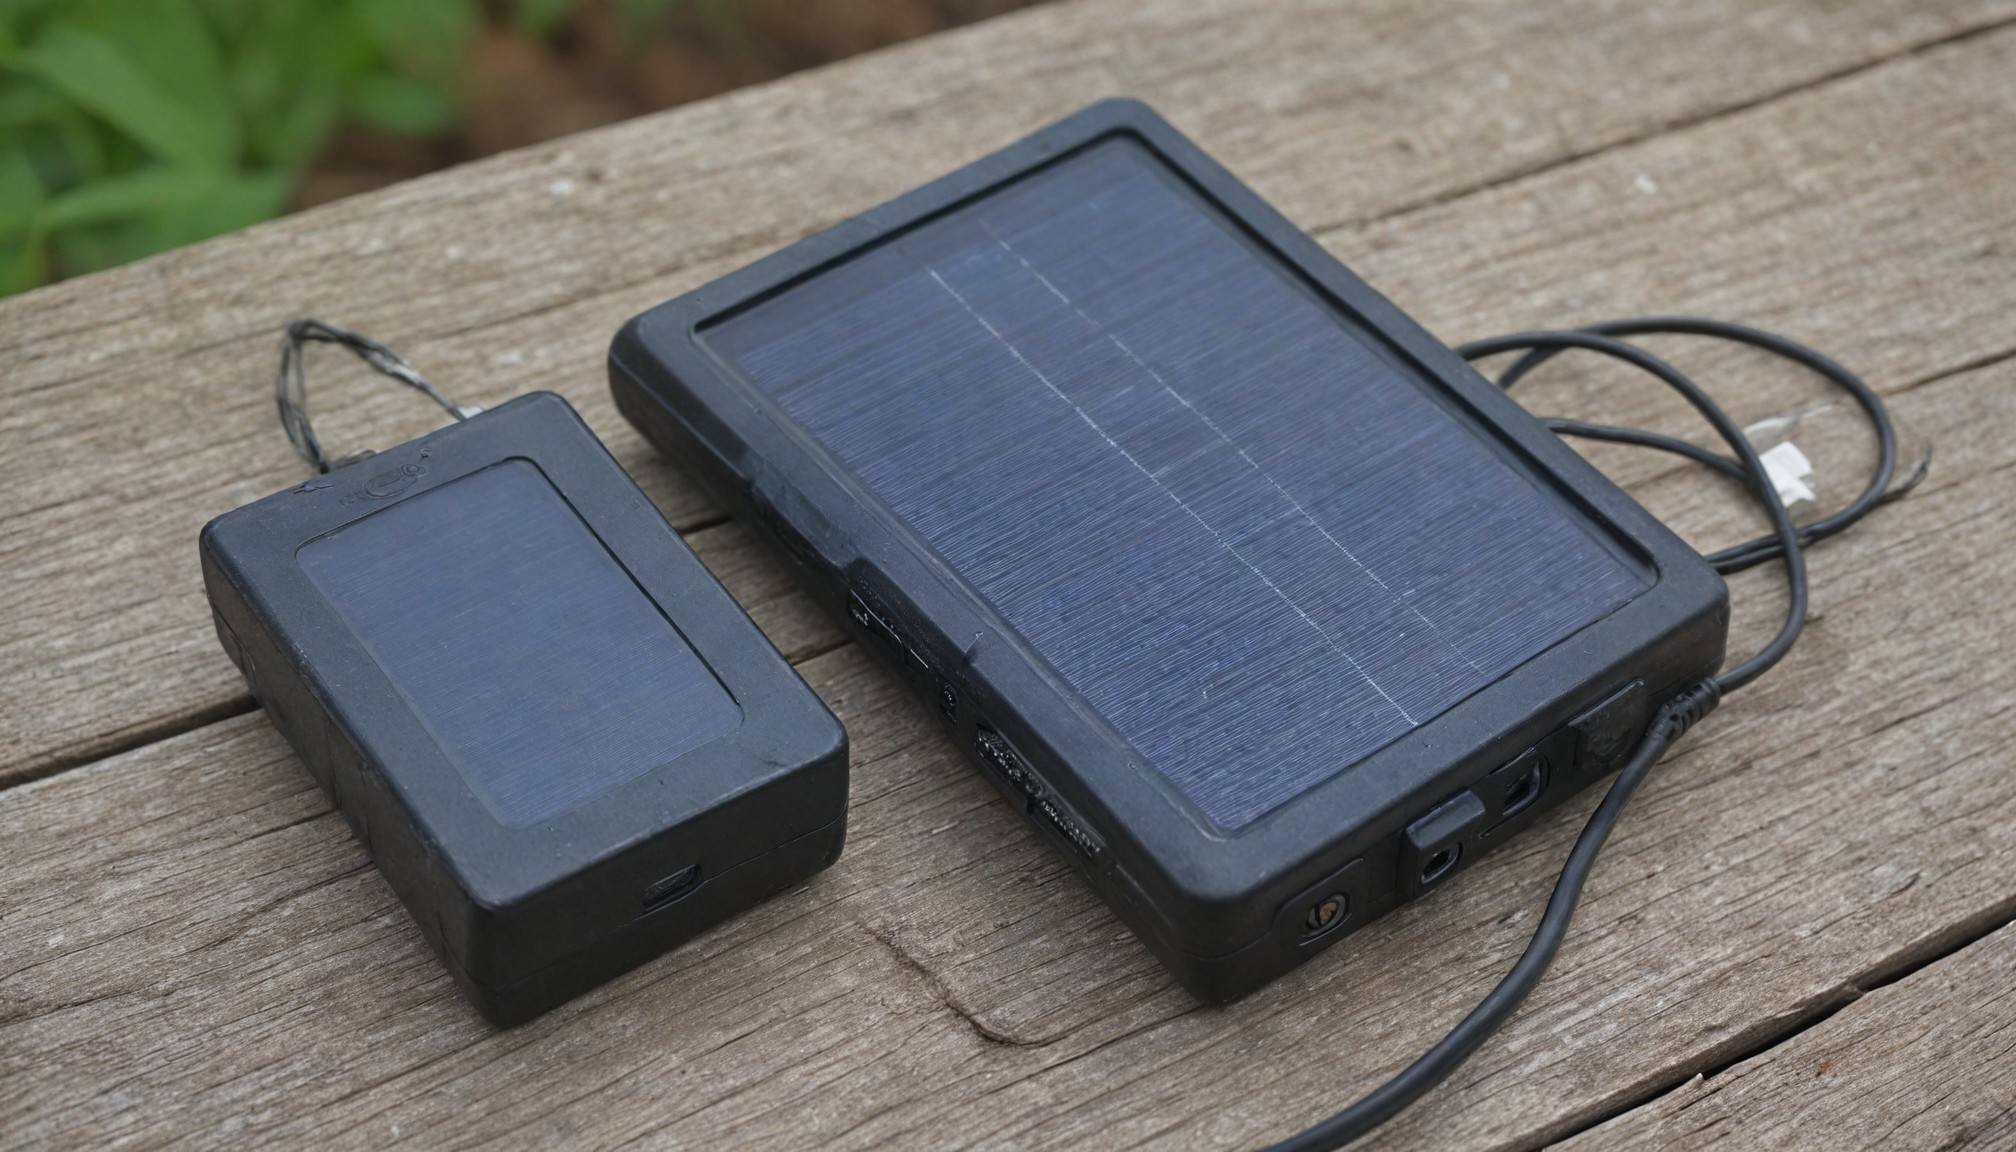
Portable Solar Charger for Small Gadgets
Introduction: In today’s tech-driven world, staying connected is essential, even when you're outdoors. Whether you're camping, hiking, or just lounging in your garden, a DIY portable solar charger can keep your devices powered without relying on an electrical outlet. This eco-friendly, innovative project will allow you to harness the power of the sun to charge small gadgets like smartphones, tablets, or portable speakers. Best of all, it’s compact, easy to assemble, and requires no woodworking.
Materials Needed:
- Small solar panel (5V or higher output)
- USB charging module (DC-DC step-down converter)
- Rechargeable lithium-ion battery (3.7V, 5000mAh or higher)
- Battery holder
- Small plastic or metal case (to house the components)
- Soldering iron and solder
- Double-sided tape or glue
- Electrical wires
- Diode (optional, for reverse current protection)
Step 1: Choose Your Solar Panel The size of your solar panel will determine how much power you can generate. A 5V solar panel with at least 2W of output is sufficient for charging small gadgets. You can find portable solar panels designed specifically for electronics at most hardware stores or online. Make sure it’s lightweight and fits comfortably in the case you plan to use.
Step 2: Assemble the Charging Circuit For the charging circuit, you’ll need a USB charging module and a lithium-ion battery. The module will step down the voltage from the solar panel to a stable 5V, which is necessary for charging USB devices. Connect the positive and negative terminals of the solar panel to the corresponding inputs on the charging module. If you’re using a diode, place it between the solar panel and module to prevent reverse current from damaging the battery.
Step 3: Prepare the Battery Next, connect the rechargeable lithium-ion battery to the charging module’s battery terminals. The battery will store excess energy from the solar panel, allowing you to charge devices even when the sun isn’t shining. Use a battery holder to secure the battery inside the case, and ensure all connections are tight.
Step 4: Secure the Components Once all the components are connected, carefully arrange them inside your case. Use double-sided tape or glue to hold the solar panel, battery, and USB module in place. Make sure the solar panel is positioned so that it can absorb sunlight efficiently, either by mounting it on the outside of the case or by cutting a hole in the top for it to sit in.
Step 5: Test Your Solar Charger After securing everything in place, it’s time to test your solar charger. Place the solar panel in direct sunlight and connect a small gadget like a smartphone or portable speaker to the USB port. The device should begin charging, and if your setup includes a battery, it will continue to store energy while the device charges.
Step 6: Make It Portable If you want to make your solar charger even more portable, consider adding a handle or strap to the case. This way, you can hang it on a backpack while hiking, or carry it around easily. You can also add a waterproof layer or sealant to the case if you plan to use the charger outdoors in various weather conditions.
Step 7: Maintain Your Solar Charger To ensure your solar charger stays functional, keep the solar panel clean and free of dust or debris that could block sunlight. Occasionally check the connections and battery to make sure everything is operating smoothly. A well-maintained charger can last for years and is a great addition to your DIY toolkit.
Conclusion: A DIY portable solar charger is a practical, eco-friendly project that gives you the freedom to power your devices wherever you go. Whether you're on an outdoor adventure or simply spending time in your backyard, this charger offers a sustainable way to stay connected without relying on traditional energy sources. It's simple to build, customizable to your needs, and the perfect addition to any DIY enthusiast's collection of innovative tools!
Recent articles from Diy

Portable Solar Charger for Small Gadgets
Introduction: In today’s tech-driven world, staying connected is essential, even when you're outdoors. Whether you're camping, hiking, or just lounging in your garden, a DIY por...

DIY: Pallet Coffee Table
A rustic and sustainable addition to your living room
Looking for a unique and eco-friendly coffee table? Repurposing a pallet is a great way to create a stylish and funct...

Window Frame Mirror
A unique and stylish way to add a touch of vintage charm to your home
Looking for a one-of-a-kind piece of decor? Repurposing an old window frame into a mirror is a fun an...