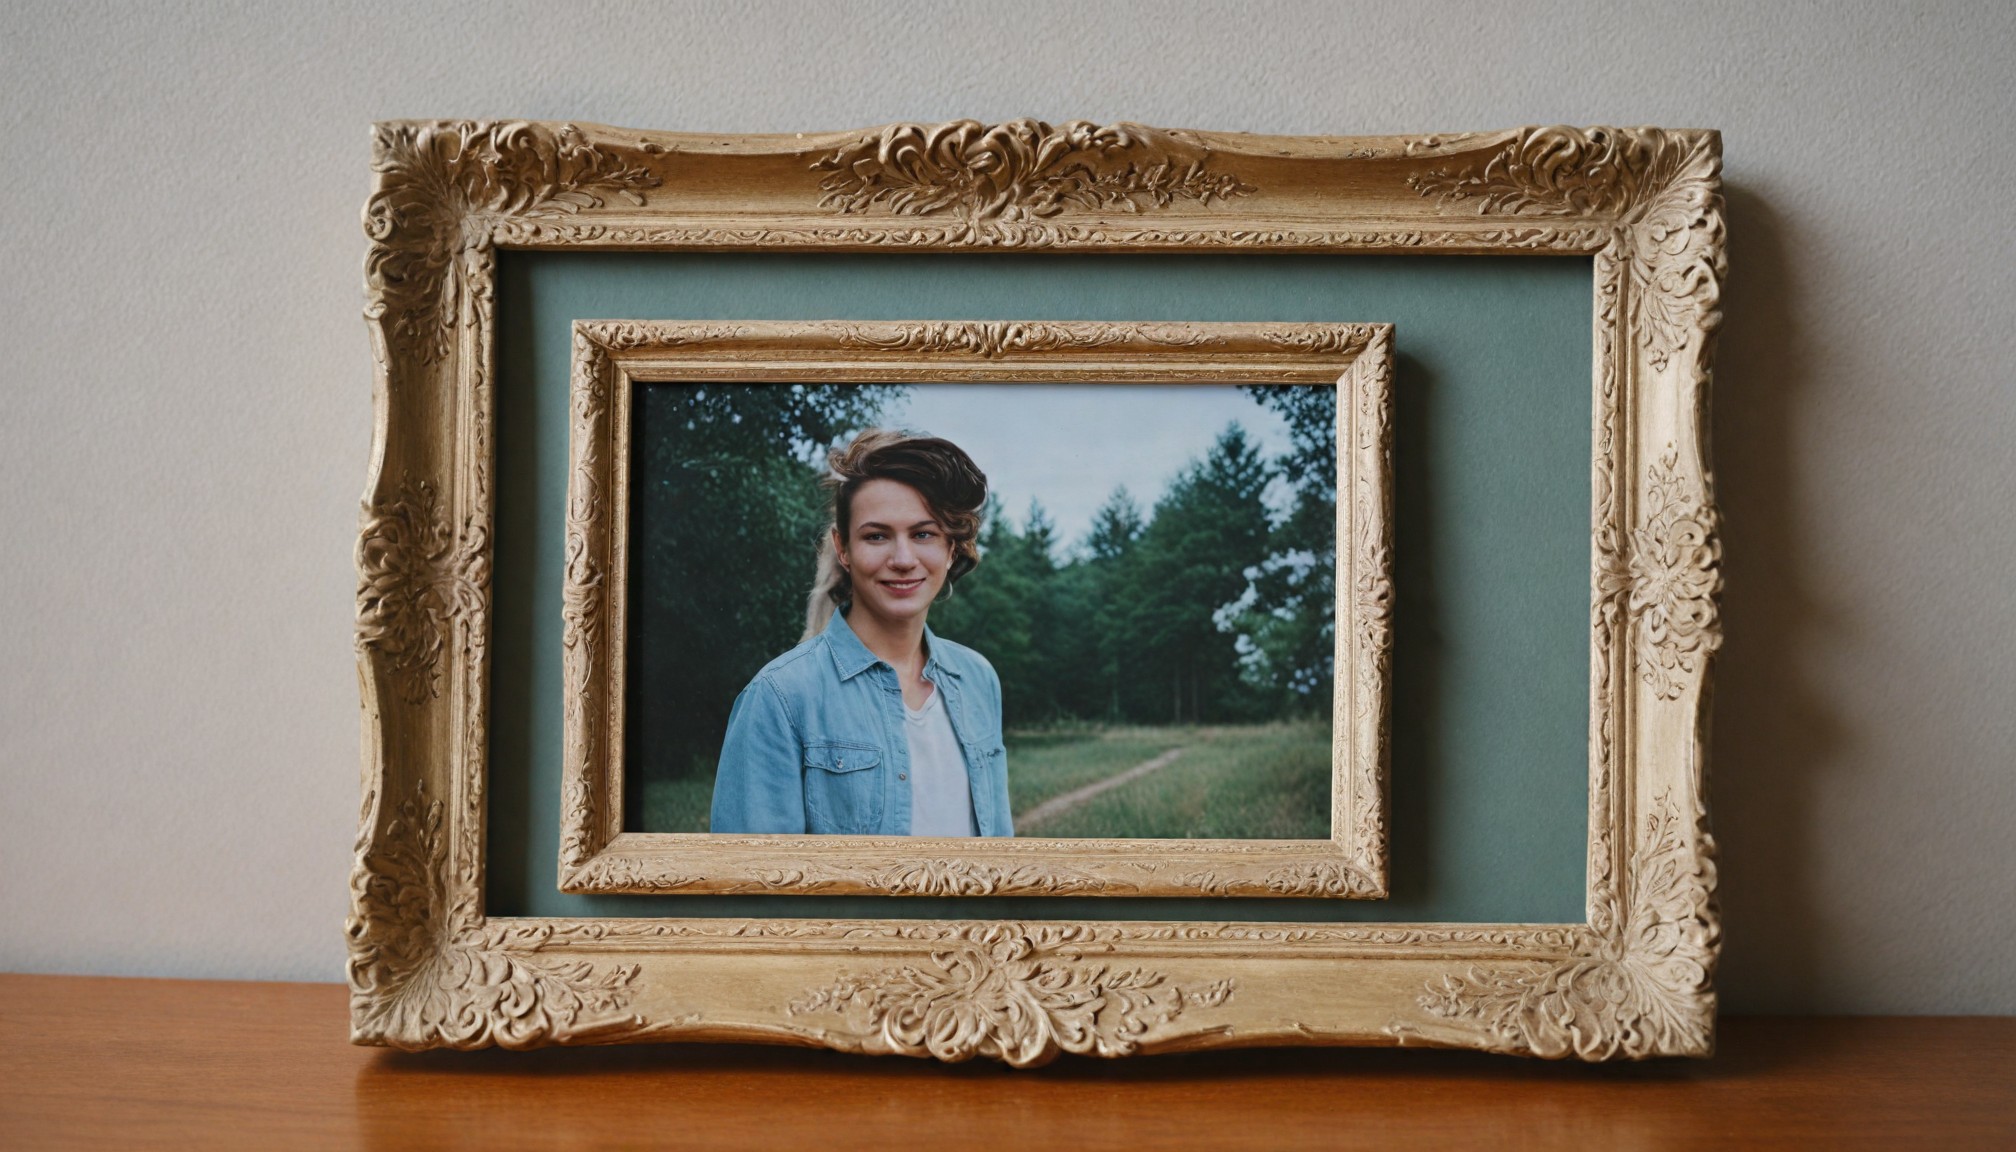
DIY: Vintage-Inspired Photo Frame
Create a unique and personalized piece of decor with this simple project
Looking for a one-of-a-kind photo frame to showcase your favorite memories? This DIY project allows you to create a personalized and vintage-inspired piece of decor.
Materials:
- Wooden frame
- Decorative paper or fabric
- Mod Podge or decoupage glue
- Paintbrush
- Scissors
- Ruler
- Foam brush
Instructions:
- Prepare the Frame: Clean the wooden frame to remove any dirt or grime. If desired, you can paint or stain the frame to your preferred color.
- Measure and Cut: Measure the interior dimensions of the frame and cut your chosen decorative paper or fabric to size.
- Apply Mod Podge: Brush a layer of Mod Podge or decoupage glue onto the back of the decorative paper or fabric.
- Position and Smooth: Carefully place the paper or fabric inside the frame, ensuring it's centered and smooth.
- Add More Layers (optional): For added durability and texture, apply additional layers of Mod Podge, allowing each layer to dry completely before applying the next.
- Seal the Edges: Brush a thin layer of Mod Podge around the edges of the paper or fabric to seal them and prevent fraying.
- Let Dry: Allow the Mod Podge to dry completely before adding your photo.
Tips:
- Experiment with different materials: Try using vintage maps, sheet music, or fabric scraps for a unique look.
- Add embellishments: Decorate your frame with embellishments such as lace, ribbons, or flowers.
- Create a collage: Use multiple pieces of paper or fabric to create a collage effect.
- Protect your frame: Once the Mod Podge is dry, you can apply a coat of protective sealant to help preserve the frame.
By following these simple steps, you can create a beautiful and personalized photo frame that will add a touch of vintage charm to your home. This DIY project is a great way to express your creativity and showcase your favorite memories.
Recent articles from Diy

Recycled Paper Airplane Launcher
Looking for a fun and simple project that kids can do at home with everyday materials? How about making a paper airplane launcher! This easy DIY project uses basic items you probably already hav...
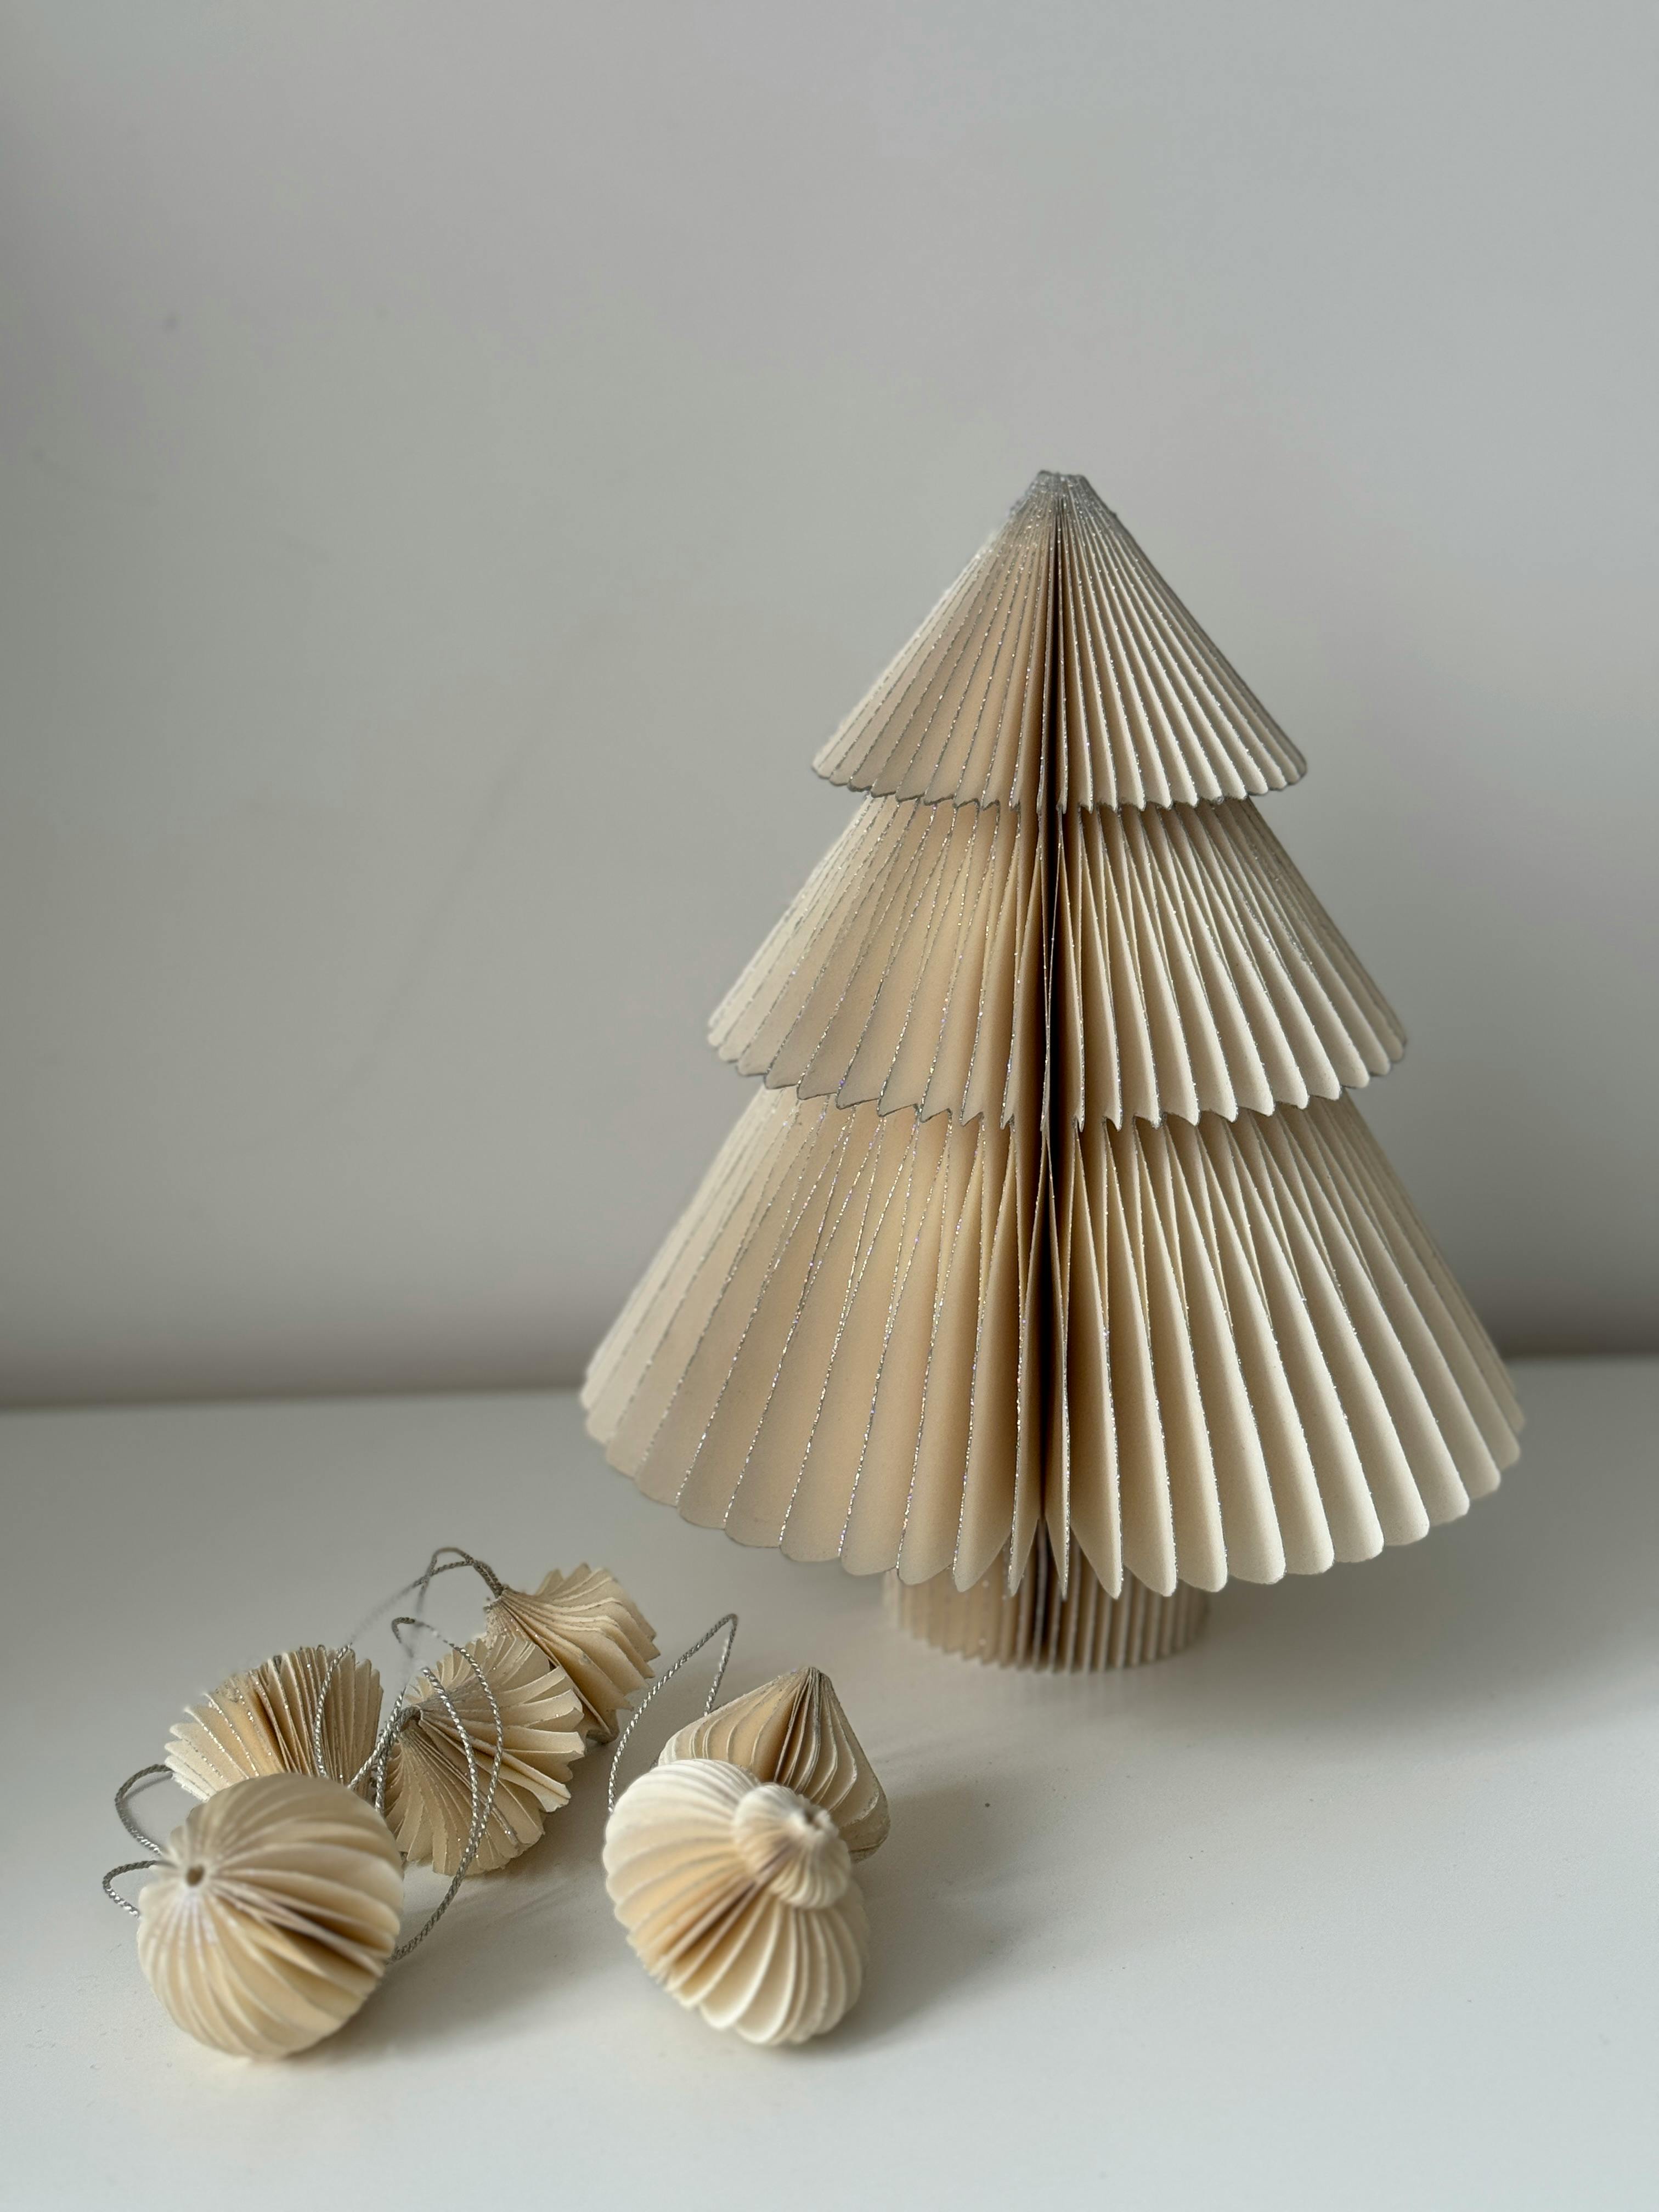
How to Make Beautiful Christmas Ornaments
Decorating a Christmas tree is an enjoyable process: you can sift through and hang ornaments bought by your mothers and grandmothers or create new ornaments yourself to enhance the traditional t...
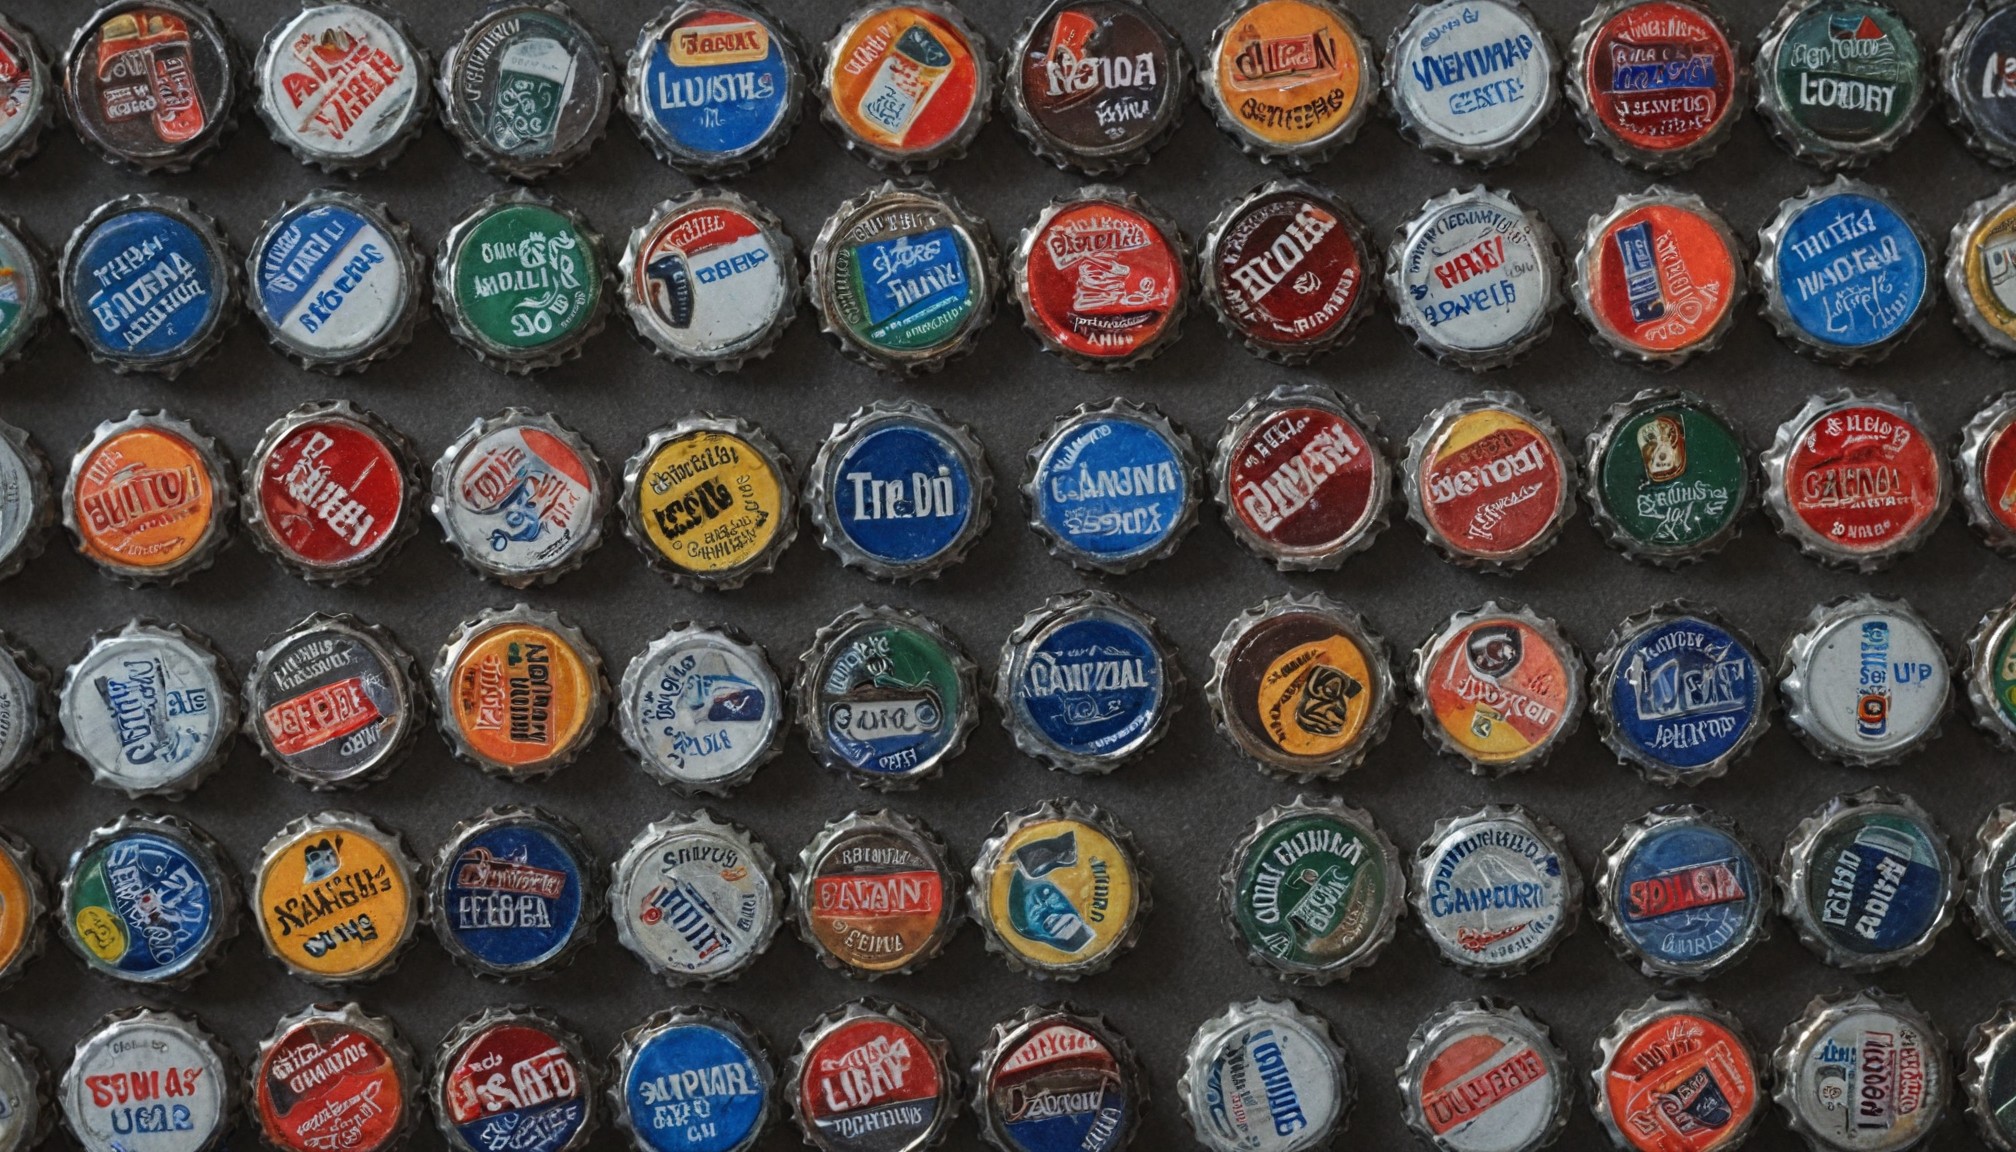
DIY: Repurposed Bottle Cap Magnets
Looking for a unique and creative way to decorate your fridge or magnetic board? Repurpose old bottle caps into magnets! This DIY project is perfect for upcycling enthusiasts and anyone looking ...