How to Make Beautiful Christmas Ornaments
Decorating a Christmas tree is an enjoyable process: you can sift through and hang ornaments bought by your mothers and grandmothers or create new ornaments yourself to enhance the traditional tree decor. Here are some handcrafted decoration ideas you can make with your family.
What to Use as a Base
Making custom decorations with children is a wonderful opportunity to bond, share stories, and discuss books, movies, or cartoons. While creating crafts, children develop creativity and fine motor skills.
Online, you’ll find a variety of zero-waste ideas. For instance, some people make ornaments from toilet paper rolls, egg cartons, popsicle sticks, bottle caps, and burned-out light bulbs with their children. These materials work just as well for Christmas balls — you can decorate them with practically anything available at home. To start, you’ll need blanks:
- Transparent plastic, polystyrene, or glass ornaments — available at marketplaces.
- Spherical objects or items close in shape — such as bulbs or packaging from creams and toys.
- Old Christmas balls needing repair — you can repaint, re-glue, or use their surviving parts to create new ones.
You can also make blanks yourself if you like. It’s simple and fun, requiring only paper, thread, foil, or cardboard.
String Ornaments
One of the simplest ways to create Christmas ornaments. You’ll need string of any color, balloons, PVA glue, a container for the glue, a large tray, and scissors. Follow these steps:
- Inflate balloons to the desired size and tie them closed.
- Cut the strings into 1-meter segments (longer ones may tangle). Soak them in glue in a container for 5–30 minutes, depending on the string's thickness (natural fibers absorb glue faster and better).
- Wrap the balloons in the soaked string, adjusting the direction and density as desired. Place finished balls on the tray. Let them dry for 12–14 hours until the glue fully hardens.
- Pop or puncture the balloons, then gently remove any remnants.
Leave the finished string balls as-is or decorate them with ribbons, beads, pinecones, or spray paint.
Inspiration and ideas:
- String ornament with a pinecone and ribbons.
- Snowman made from string balls.
- String balls decorated with artificial flowers.
Paper Ornaments
Many of us have made paper-mâché crafts in preschool — why not use this simple technique to create Christmas balls? Here's how:
- Make glue: Mix 1 cup of flour and 1 cup of cold water. Heat the mixture while stirring and slowly add 3 more cups of water. Cook for 3–5 minutes until smooth and moderately thick. Let the glue cool down.
- Tear paper (thin types like tissue or old newspapers work best) into random pieces. White or light-colored paper is recommended, as it’s easier to paint.
- Inflate balloons to your desired size and tie them shut. Layer paper pieces coated in glue onto each balloon. Apply layers evenly for a symmetrical ornament. Add more layers to make them sturdier.
- Let the coated balloons dry on a tray for at least 8–10 hours or until fully set.
- Pop the balloon near its tip and remove the remnants. Decorate or paint the ball as desired.
Inspiration and ideas:
- Hand-painted paper-mâché balls.
- Cat-themed paper-mâché ball.
- Elephant on a balloon.
Cardboard Ornaments
Colored paper or cardboard is excellent for creating both the base and finished ornaments. You’ll need double-sided colored cardboard, PVA glue, a glass or cup for tracing circles, and ribbons for hanging.
The easiest ornament involves cutting circles of the same size, folding them in half, and gluing the halves to create a 3D effect. With practice, you can explore other shapes. Allow kids to cut pieces with child-safe scissors.
Inspiration and ideas:
- Colorful cardboard balls.
- Checkered cardboard ball.
- Decorative lanterns from cardboard.
- Stars made of cardboard.
Foil Ornaments
If you have a roll of thin kitchen foil, you can easily make a base. Compress the foil into a tight ball and roll it firmly on a table. Add more foil layers if needed. You can cover these bases with paper using paper-mâché techniques or decorate them directly with paint and glue.
Inspiration and ideas:
- Foil balls decorated with paper-mâché.
- Animal figures made from foil and paper-mâché.
- Foil-decorated balls with stickers.
Fabric Ornaments
Fabric ornaments bring a sense of coziness to your Christmas tree. You can sew them, decorate foam blanks, or even just wrap fabric around old Christmas balls. Here's how:
- Soft Fabric Ornaments: Cut out shapes like stars, hearts, or bells from fabric. Stitch the edges and stuff them lightly with cotton or synthetic filling.
- Wrapped Ornaments: Wrap old Christmas balls with fabric scraps, tulle, or organza. Secure them with a ribbon or decorative cord.
- Embroidery: Use a small hoop or embroidery frame to sew a pattern on fabric. Once complete, attach it to a round or oval frame and use as an ornament.
Inspiration and ideas:
- Velvet ornaments tied with ribbon.
- Sewn stars and hearts filled with fragrant dried herbs like lavender.
- Fabric-wrapped ornaments with lace details.
Decorations Made from Natural Materials
Natural materials create a warm, rustic aesthetic. Pinecones, wooden slices, dried flowers, and twigs are great options. You can make fully natural ornaments or incorporate them into other designs.
- Pinecones: Attach pinecones to a string and spray with paint, glitter, or artificial snow for an elegant touch.
- Wooden Slices: Paint them or burn festive patterns (snowflakes, reindeer, Christmas trees). Add a small hole for a ribbon or wire loop.
- Dried Oranges: Cut oranges into thin slices and dry them in an oven. Add cinnamon sticks, star anise, or other spices for fragrance.
Inspiration and ideas:
- Pinecones with beads and sparkles.
- Small wreaths from dried twigs.
- Ornaments combining wood slices and lace.
Beaded and Embroidered Ornaments
These intricate ornaments will captivate with their brilliance and charm. Though a bit time-consuming, they make for stunning decor. Here are some ideas:
- Beaded Covers: Use thin wire or thread to weave beads into a net-like cover for the ball.
- Embroidered Canvas Balls: Hand-embroider patterns on small pieces of fabric, then stretch the fabric over polystyrene or foam blanks.
- Pearls and Sequins: Glue or sew tiny decorative elements onto old Christmas balls for a luxurious look.
Inspiration and ideas:
- Star-shaped ornaments entirely made of beads.
- Multi-color bead snowflakes.
- Metallic ornaments with pearl accents.
Clay and Salt Dough Crafts
Moldable materials like clay or salt dough let you create ornaments in any shape you like. Use cutters for crisp designs or hand shape whimsical forms. Bake or air-dry the decorations before adding details.
How to Make Salt Dough: Mix 2 cups of flour, 1 cup of salt, and 1 cup of water. Add oil or glue to strengthen the dough.
- Roll the dough flat and cut out shapes. Poke a hole at the top for hanging.
- Dry or bake the dough until firm. If desired, sand it smooth before painting.
- Decorate with acrylic paint or varnish.
Inspiration and ideas:
- Personalized clay ornaments with names stamped into them.
- Salt dough snowflakes painted silver.
- Painted ceramic stars.
Origami Techniques
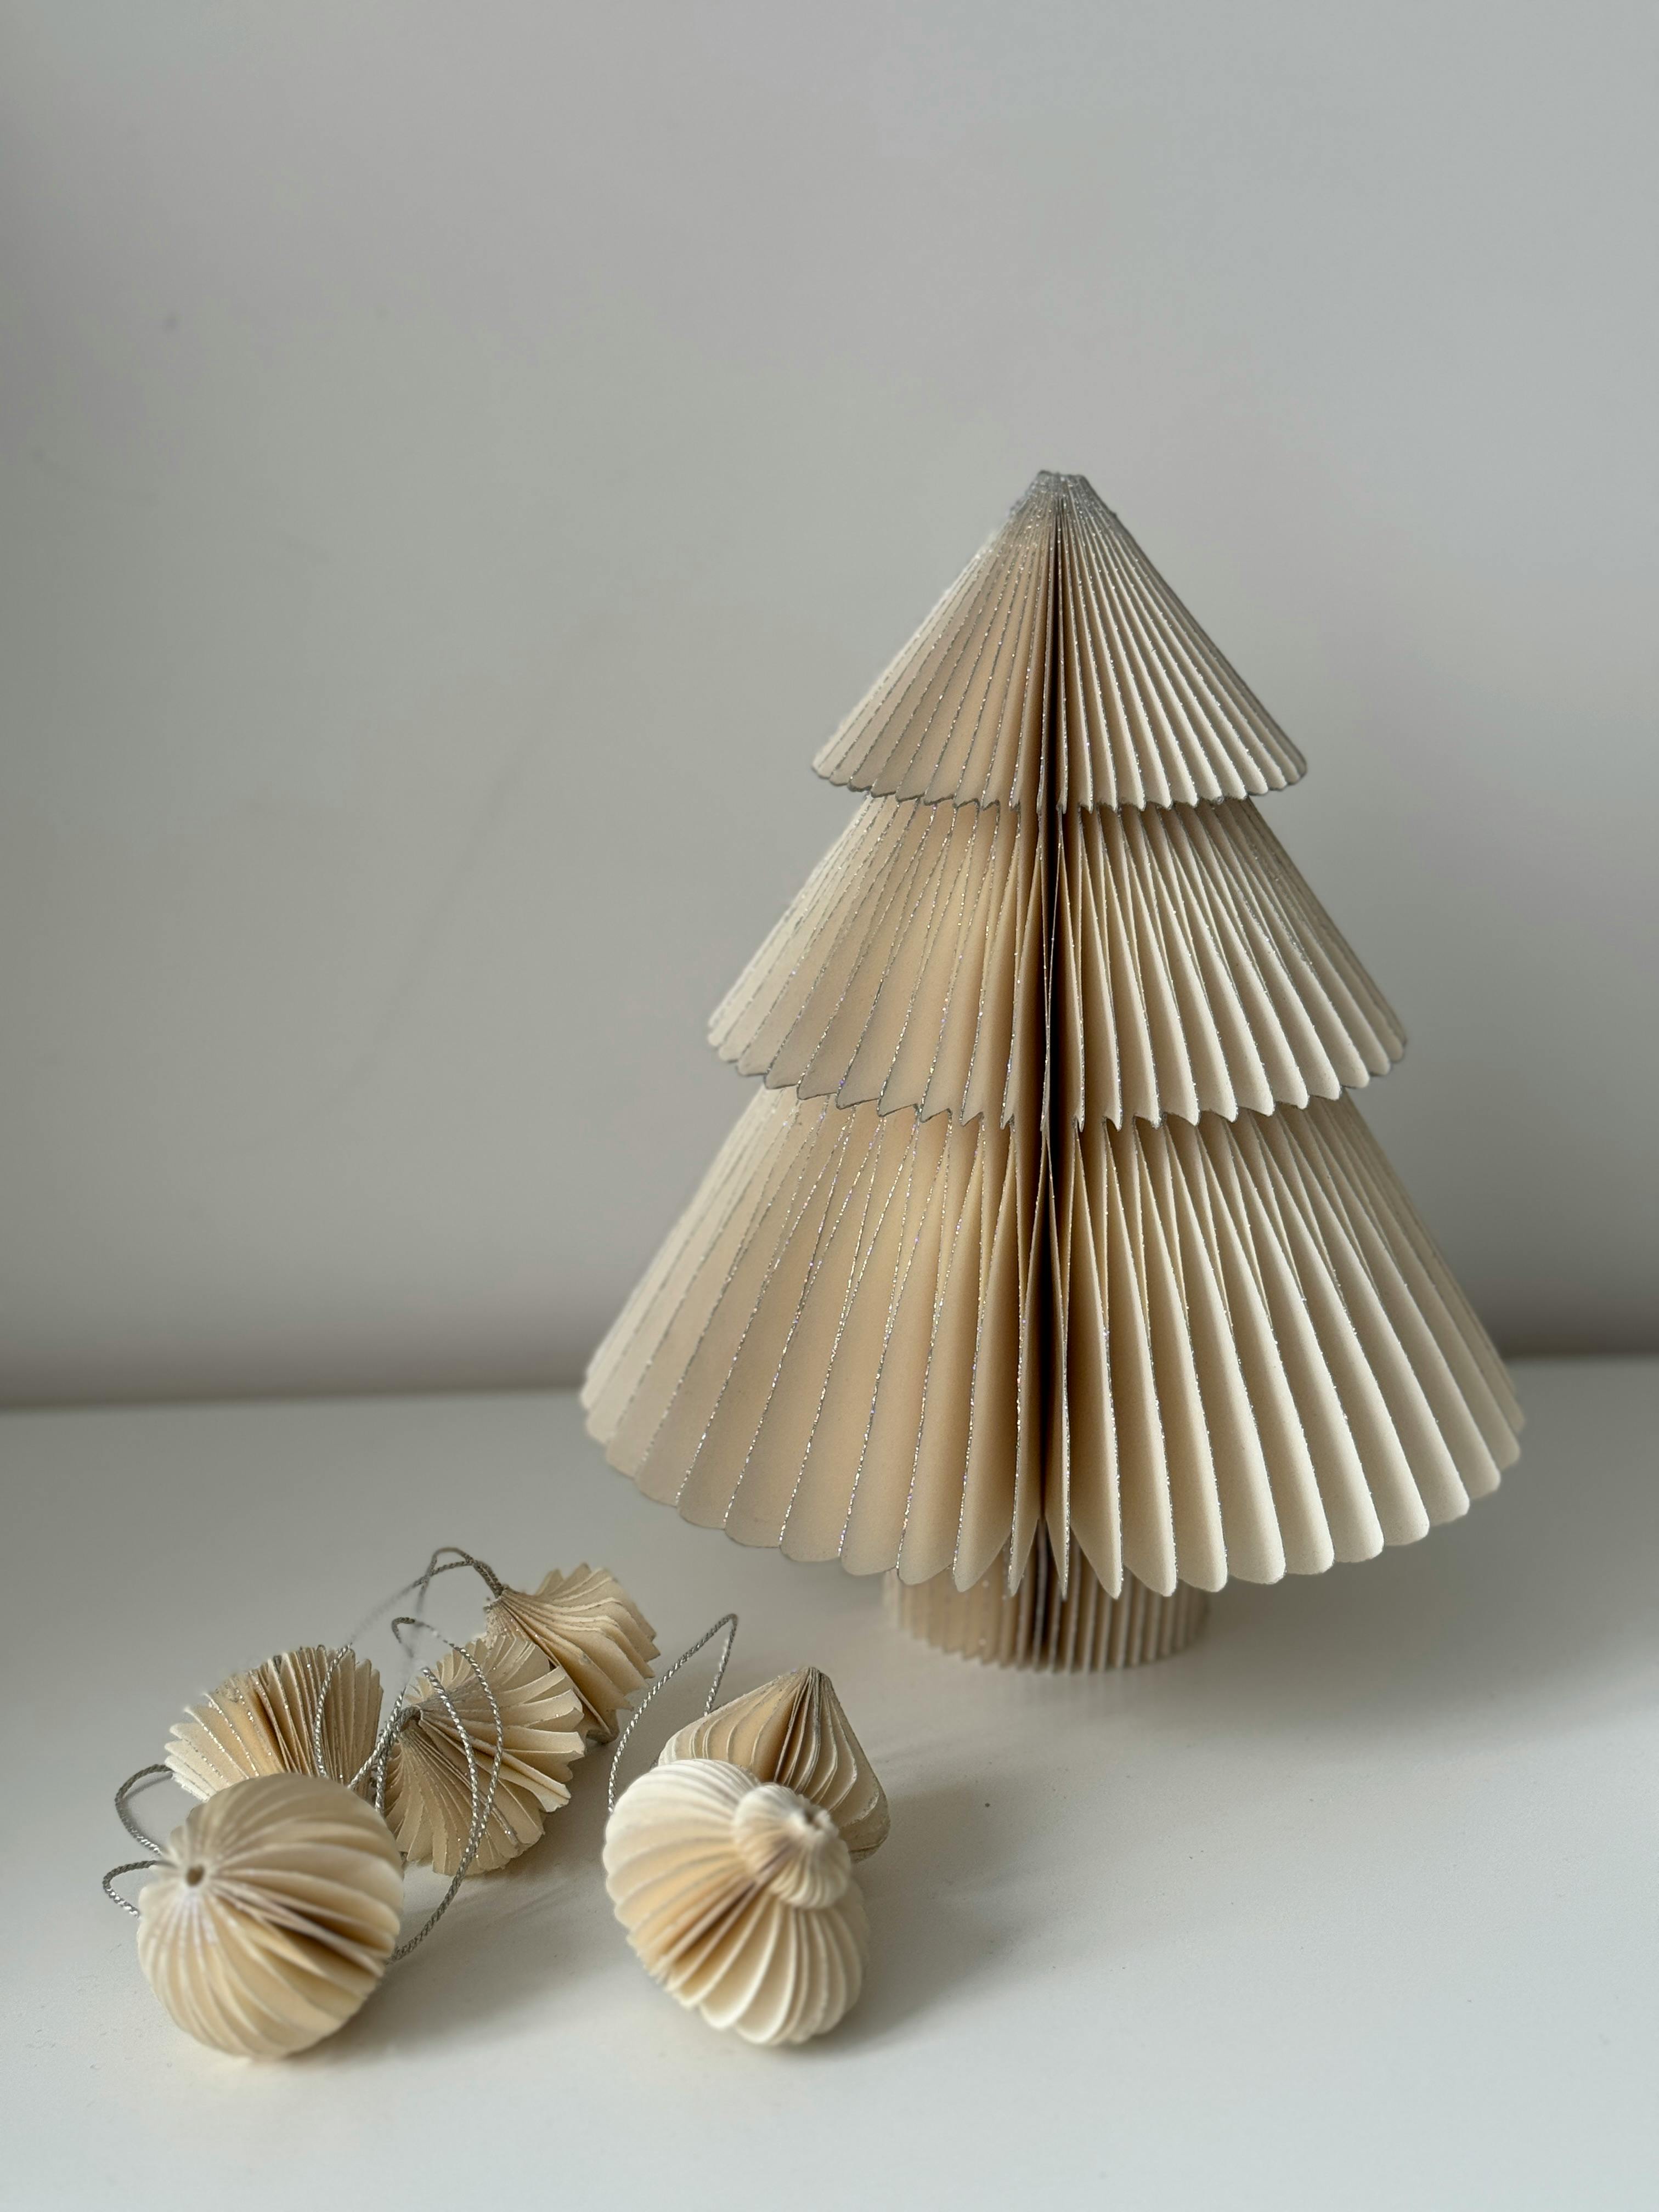
Inside transparent ornaments, you can place something visually appealing. For instance, live or artificial flower buds, leaves, or small fir branches in contrasting colors to make them stand out on the Christmas tree. Alternatively, add colorful beads and ribbons.
If you're skilled in origami, consider placing paper figurines inside the ornaments. To keep everything neat, use tweezers for placing the pieces. You can fix the paper figure inside using a clear thread, adorned with beads. Bring the thread out through the ornament opening to serve as the hanging loop.
Ideas for Implementation and Inspiration:
- Transparent ornaments filled with plants.
- Origami figures within clear spheres.
- A transparent ball with New Year's-themed decorations inside.
Recent articles from Diy

Make Magnetic Spice Rack for Your Kitchen
Introduction: Keeping your spices organized and within easy reach can be a challenge, especially if you’re short on kitchen space. A DIY magnetic spice rack is a simple and effe...

Make a Desk Organizer from Recycled Materials
If your kids are looking for a simple yet useful project to do at home, making a desk organizer is a great idea! Using common household materials, they can create a functional and eco-friendly s...

DIY Reusable Shopping Bags from Old T-Shirts
Tired of single-use plastic bags? Turn your old t-shirts into eco-friendly, reusable shopping bags! It's a simple, satisfying project that helps reduce waste and saves you money.
M...