DIY Garden Stepping Stones: Personalize Your Outdoor Space
Customized garden stepping stones can really make your outdoor space stand out. They are functional in establishing paths through the garden but also serve as an avenue for self-expression. Making DIY stones is a quick and easy project that all family members can take part in. Here are some steps on how to create interesting personalized stones that will improve your garden for years.
Materials You’ll Need:
- Concrete mix or quick-setting cement
- Molds (plastic trays, cake pans, or sturdy cardboard boxes work well)
- Decorative items (glass beads, shells, tiles, leaves, pebbles, or even handprints)
- Trowel or a plastic spatula
- Bucket and water for mixing the cement
- Cooking spray or petroleum jelly to grease the molds
- Gloves and protective gear (optional, for handling cement)
Step 1: Prepare Your Mold
The mold is what shapes your stepping stones, so choose one that suits the size and shape you want. You can use shallow containers like old cake pans, disposable pie tins, or any sturdy container that can hold cement. If you prefer freeform shapes, you can even create custom molds from cardboard or plastic.
- Grease the mold: Before you pour in the concrete, coat the inside of your mold with cooking spray or petroleum jelly. This will make it easier to remove the stepping stone once it has set.
- Shape customization: If you want round, square, or irregular shapes, pick molds accordingly. You can also cut plastic bottles for smaller stones.
Step 2: Mix the Concrete
Follow the instructions on your cement mix or concrete bag for the right ratio of water to dry mix. In a bucket, gradually add water to the concrete mix, stirring continuously until the mixture reaches a thick, mud-like consistency.
Tip: If you want your stones to be lighter or easier to lift, use hypertufa (a mixture of cement, peat moss, and perlite), which gives a more rustic look.
Step 3: Pour the Concrete into the Molds
Once your concrete is mixed, pour it into the greased molds. Use a trowel or spatula to spread the mixture evenly, making sure the top is smooth and level.
Thickness: Aim for about 1.5 to 2 inches in thickness for durable, long-lasting stepping stones. Thinner stones may crack over time.
Step 4: Add Decorative Elements
Now comes the fun part—decorating your stepping stones! You can personalize each stone by embedding various decorative items. Here are some ideas to get creative:
- Glass beads or pebbles: Arrange colorful glass beads, pebbles, or mosaic tiles into patterns, designs, or even initials.
- Leaves or flowers: Press large leaves, ferns, or flowers into the surface to create an imprint. Once the concrete dries, the organic material can be removed, leaving behind a beautiful textured design.
- Handprints or footprints: For a personal touch, press handprints or footprints into the wet concrete. This is a fun way to involve kids in the project and create lasting memories.
- Stamps or writing: Use a stick or craft tool to carve names, dates, or messages into the surface.
Make sure to press your decorations gently into the concrete, just enough so they are set in place but not too deep that they disappear.
Step 5: Let the Stepping Stones Dry
After decorating your stones, it’s time to let them dry and harden. Place the molds in a dry, shaded area to prevent the concrete from drying too quickly, which can cause cracks.
- Drying time: Allow the stepping stones to cure for at least 24-48 hours. If you live in a particularly humid area, they might need longer to dry completely.
- Curing: To ensure the stones cure properly and remain strong, mist the surface with water during the drying process. This will help the concrete harden without becoming brittle.
Step 6: Remove the Stepping Stones from the Molds
Once the concrete is fully cured, carefully remove the stones from their molds. If they’re stuck, gently tap or twist the mold to release them.
Tip: If you used a plastic mold and the stone is difficult to remove, try cutting the mold off carefully.
Step 7: Place the Stepping Stones in Your Garden
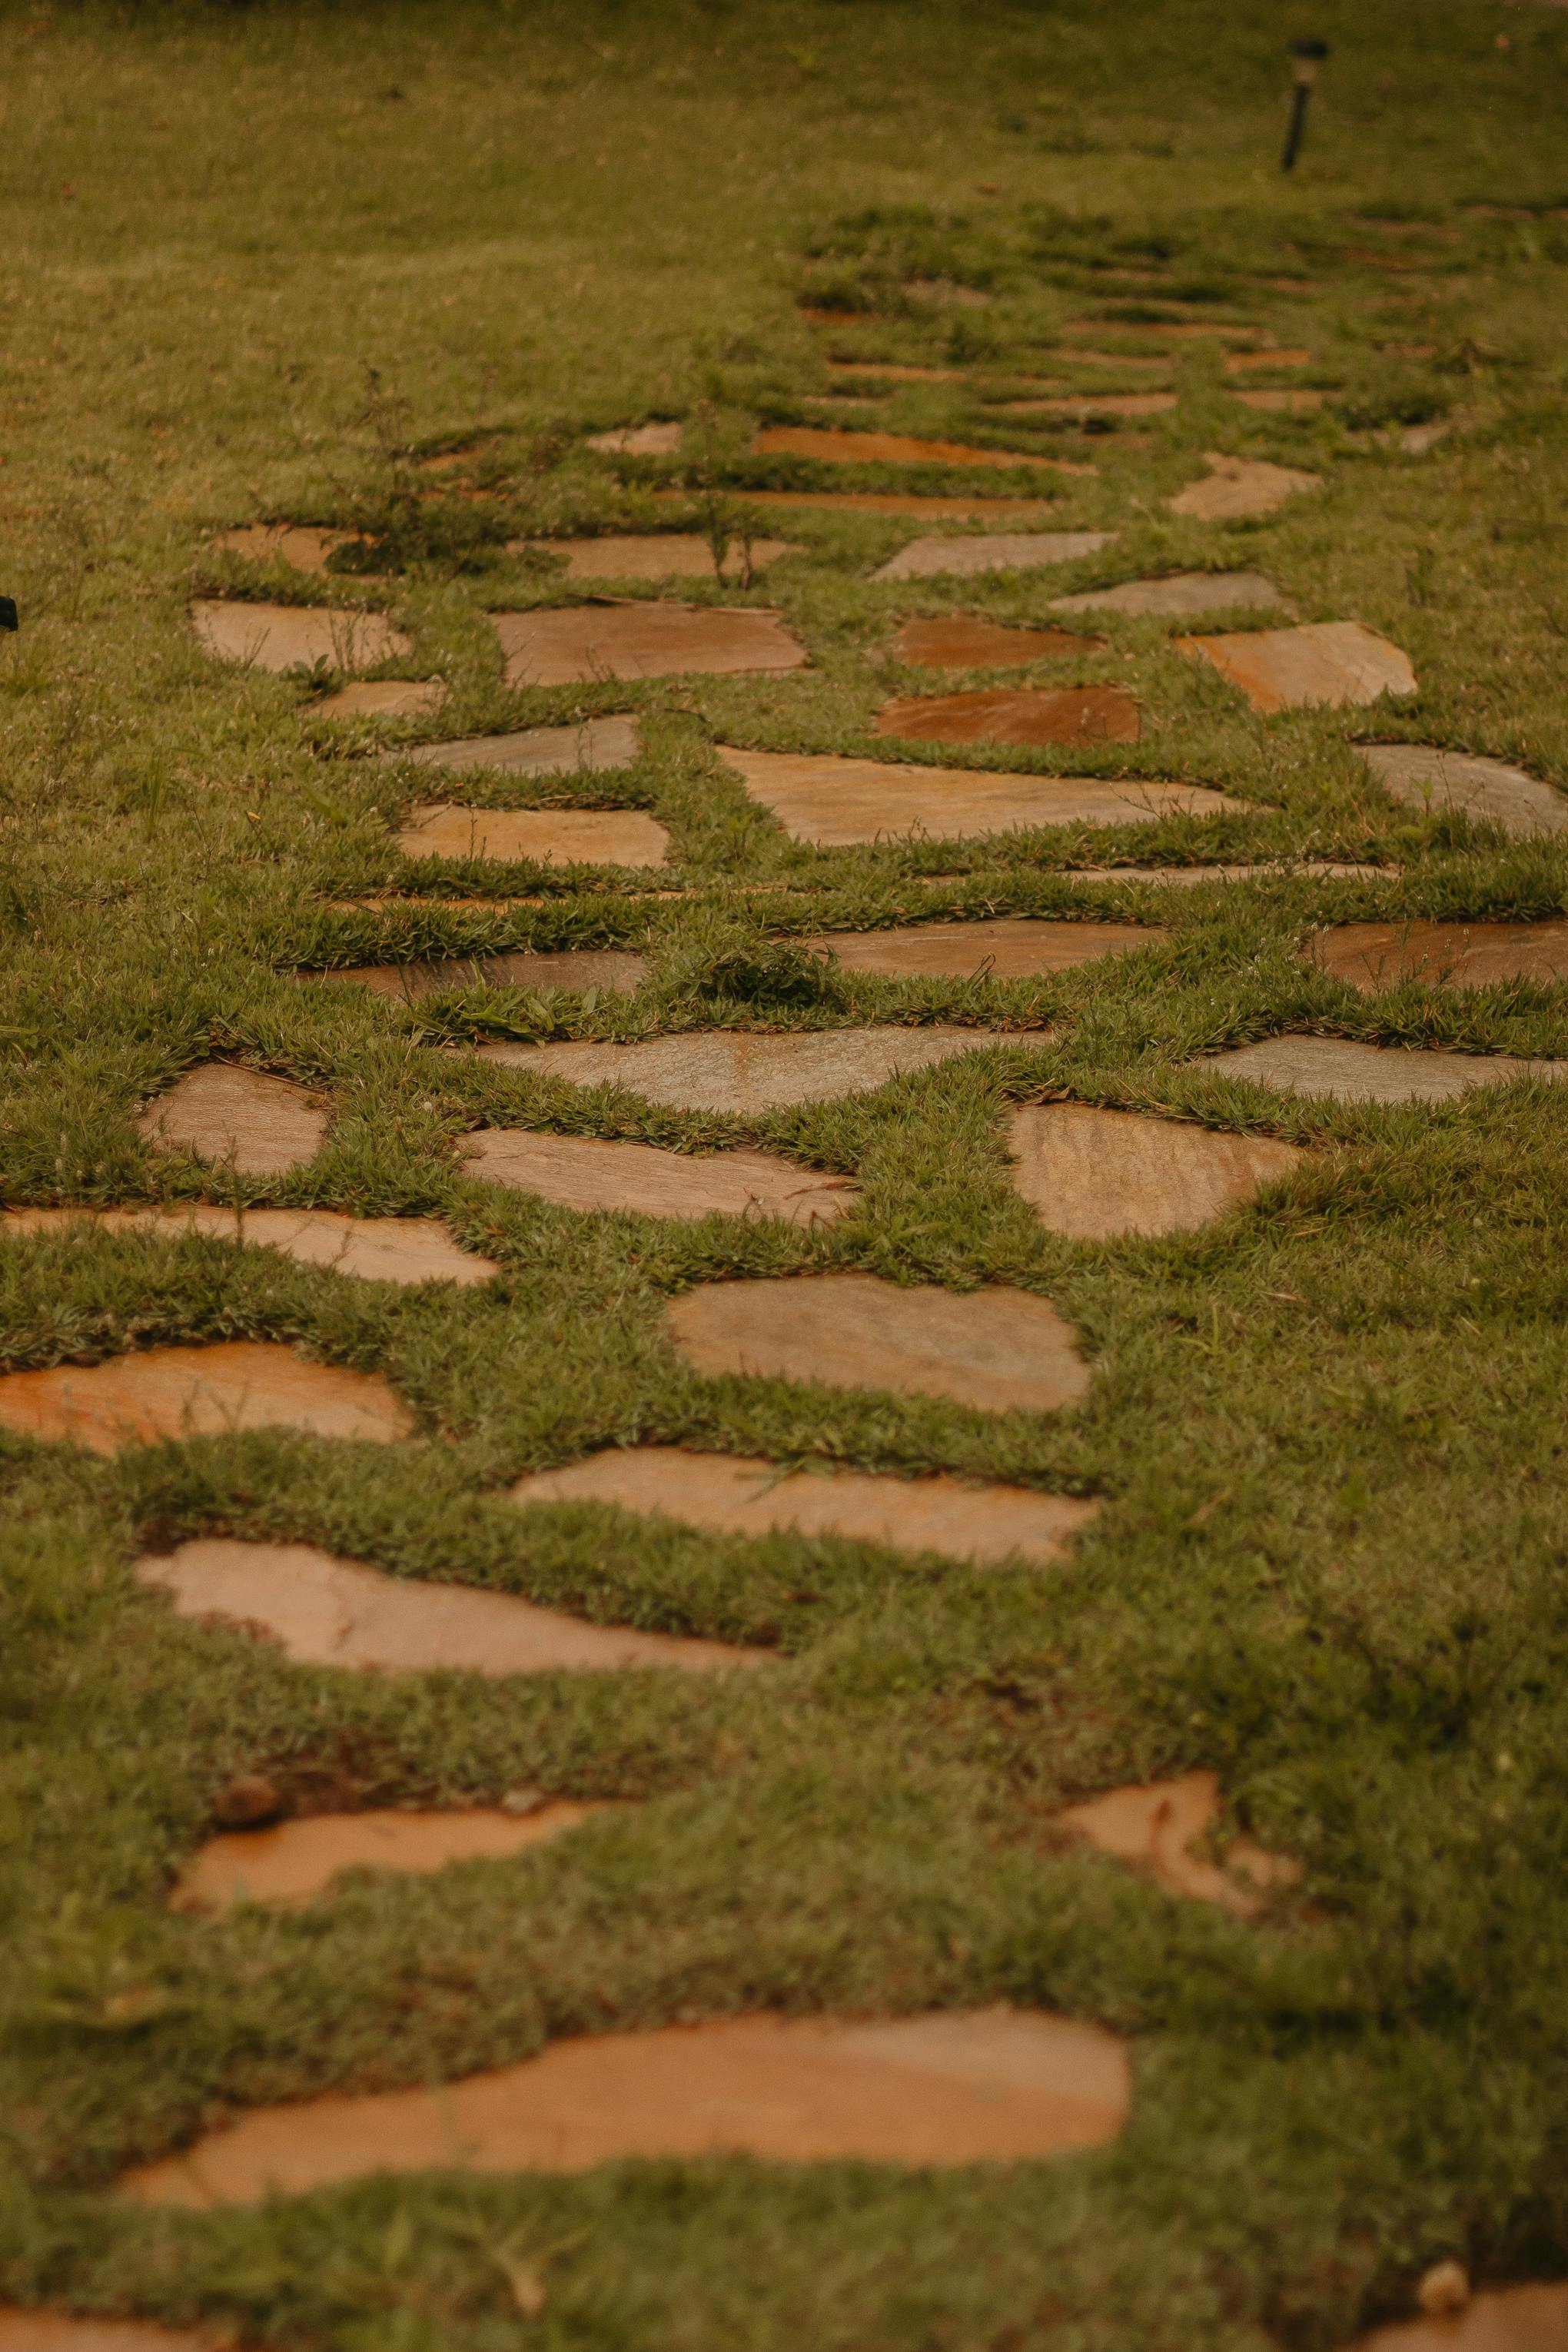
Now that your custom stepping stones are ready, it’s time to place them in your garden. You can either place them directly on the soil or dig shallow holes so they sit flush with the ground. Ensure they are level and stable to prevent wobbling when walked on.
- Pathway: Use the stones to create a walkway through your garden, leading to a seating area or focal point like a fountain.
- Accent pieces: Scatter them artistically among plants or near flower beds to add visual interest.
- Spacing: If using the stones as a path, space them evenly based on comfortable walking strides, typically around 12-18 inches apart.
Conclusion
Making personal do-it-yourself stones is a great way of decorating the home garden because it gives an opportunity of being creative and making something unique. You may choose to have complex forms with glass mosaics or simple reflective patterns from nature; these stones bring life into gardens while allowing their makers’ creativity flow through them. In addition, one does not need enough finance, the procedure is simple and this type of pastime, is a wonderful weekend activity. So get your materials together and let your imagination run wild as you make your stepping stones!
Recent articles from Diy

Natural Insect Repellent Spray for Home Use
Introduction: Tired of pesky insects invading your home but want to avoid chemical-laden repellents? A DIY natural insect repellent spray is the perfect solution. Not only is it...

How to Make Beautiful Christmas Ornaments
Decorating a Christmas tree is an enjoyable process: you can sift through and hang ornaments bought by your mothers and grandmothers or create new ornaments yourself to enhance the traditional t...

Make Magnetic Spice Rack for Your Kitchen
Introduction: Keeping your spices organized and within easy reach can be a challenge, especially if you’re short on kitchen space. A DIY magnetic spice rack is a simple and effe...