Make Magnetic Spice Rack for Your Kitchen
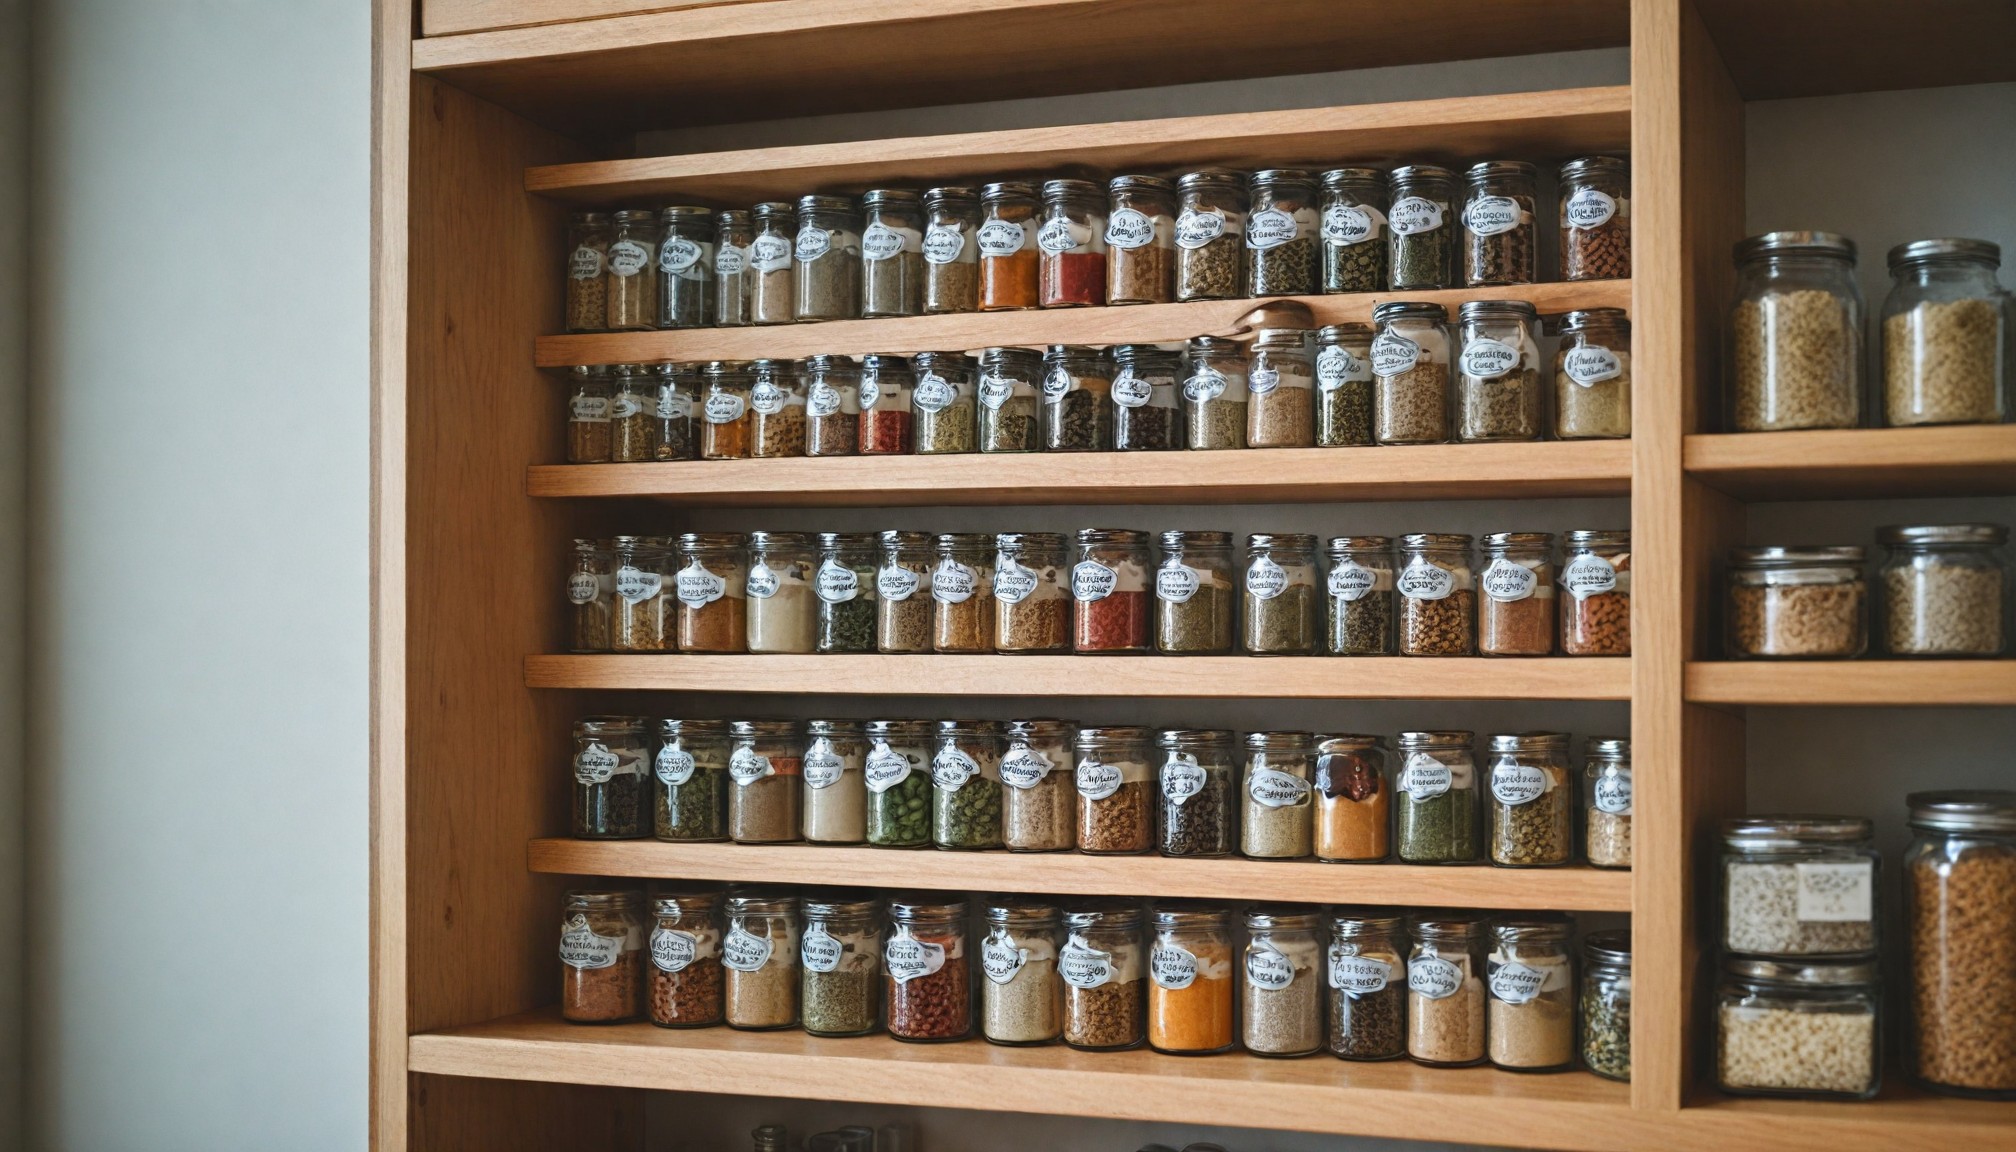
Introduction: Keeping your spices organized and within easy reach can be a challenge, especially if you’re short on kitchen space. A DIY magnetic spice rack is a simple and effective solution that allows you to store your spices neatly on the wall or inside a cabinet door, freeing up valuable counter and shelf space. This project doesn’t require any woodworking, and you can customize it to suit your kitchen's aesthetic. Let’s create a sleek, space-saving spice storage solution in a few easy steps.
Materials Needed:
- Small metal spice containers with clear lids (magnetic or non-magnetic)
- Self-adhesive magnetic strips or magnetic tape
- Metal sheet (optional for mounting)
- Labels (optional for spice names)
- Scissors or a box cutter
- Ruler or measuring tape
Step 1: Choose Your Spice Containers The key to this project is finding the right spice containers. Small, round metal tins with clear lids work perfectly for a magnetic spice rack. You can purchase tins that already have magnetic bases, or buy standard tins and add your own magnets later. Be sure the containers are food-safe and have airtight seals to keep your spices fresh.
Step 2: Prepare the Magnetic Base If your spice tins aren’t magnetic, you can make them magnetic by attaching self-adhesive magnetic strips or magnetic tape to the bottom. Cut the magnetic strips or tape to fit the diameter of the tins, and firmly press them onto the base. Make sure the magnets are strong enough to hold the weight of the containers, especially if you plan to attach them to a vertical surface.
Step 3: Create a Mounting Surface (Optional) If you don’t want to stick the tins directly to your refrigerator or another magnetic surface, you can create a mounting board using a metal sheet. You can find thin metal sheets at most hardware stores, and they’re easy to mount on a kitchen wall, cabinet door, or pantry. Cut the sheet to your desired size, and mount it using screws, adhesive strips, or wall anchors, depending on your surface.
Step 4: Attach the Containers With your magnetic spice tins ready and your mounting surface prepared, it’s time to start organizing your spices. Simply attach each container to the magnetic surface. If you’re mounting the tins directly onto a refrigerator or another metallic surface, they should stick without any additional effort. Arrange them in rows or groups based on how frequently you use each spice.
Step 5: Label the Spice Tins (Optional) To make your magnetic spice rack even more functional, you can label each tin with the name of the spice inside. Use adhesive labels, chalk labels, or a label maker for a clean and uniform look. Alternatively, write directly on the tin lids with a dry-erase marker if you want to change spices frequently.
Step 6: Fill Your Spice Tins Once your spice tins are mounted and labeled, it’s time to fill them with your favorite spices. Transfer spices from their original containers into your magnetic tins, making sure each tin is securely sealed to maintain freshness. If you want to add a touch of organization, consider grouping spices by type (e.g., baking spices, savory spices) or by how often you use them.
Step 7: Ongoing Maintenance As you use your spices, be sure to refill the tins when they start running low. Because the tins are see-through, you’ll easily know when it’s time to restock. Keeping the rack neat and organized will make cooking more enjoyable, and having your spices displayed openly will encourage you to experiment with new flavors.
Conclusion: A DIY magnetic spice rack is a simple, stylish, and space-saving solution for any kitchen. Whether you’re looking to declutter your countertops or add a unique design element to your cooking space, this project is easy to customize to your needs. Best of all, it keeps your spices conveniently within reach, making meal preparation more efficient and enjoyable. Enjoy the convenience and organization of your new spice rack and the added flair it brings to your kitchen!
Recent articles from Diy

8 Things You Can Make from Cardboard Boxes / Instead of Throwing Them Away
A cardboard box is convenient, affordable, and versatile packaging. They’re used to sell everything, from food to furniture and electronics, and end up in every home regularly. You can throw the...

A stylish and sustainable way to reduce plastic bag usage
A stylish and sustainable way to reduce plastic bag usage
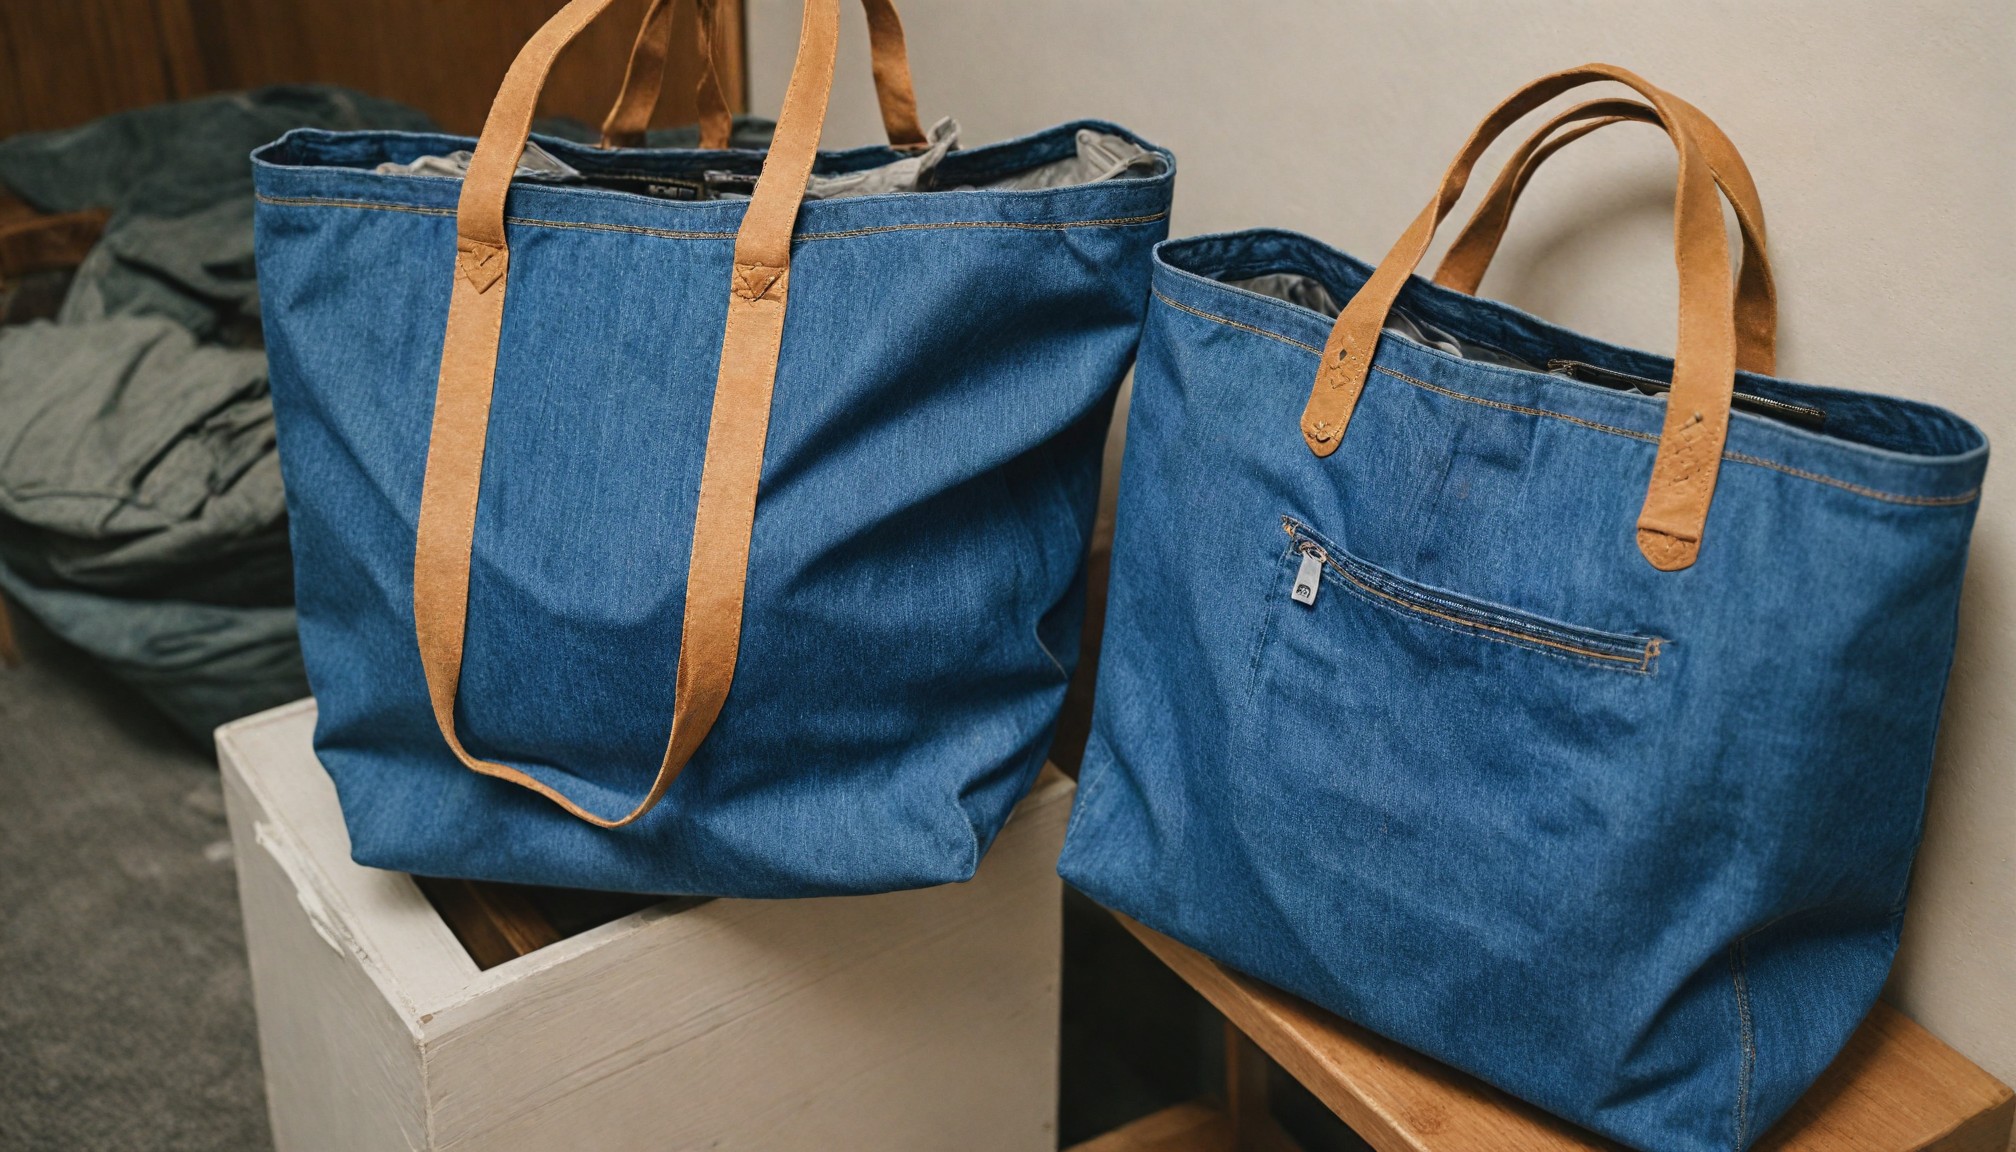
Tired of single-use plastic bags? Turn your old denim jeans into stylish and eco-friendly tote bags! It's a simpl...

Natural Insect Repellent Spray for Home Use
Introduction: Tired of pesky insects invading your home but want to avoid chemical-laden repellents? A DIY natural insect repellent spray is the perfect solution. Not only is it...