How to Build a Raised Garden Bed for Your Backyard
Introduction: Whether you’re an experienced gardener or just starting, a raised garden bed is an excellent way to grow vegetables, herbs, or flowers with better soil control and easier access. Raised beds not only provide improved drainage but also help keep pests at bay. In this guide, we’ll take you through the process of building your own DIY raised garden bed using simple materials that are affordable and durable.
Materials Needed:
- Four untreated wooden boards (2x10 or 2x12) for the sides (length depends on your desired size)
- Galvanized screws
- Drill
- Measuring tape
- Level
- Gardening soil or topsoil mix
- Mulch (optional)
- Plants or seeds of your choice
- Landscape fabric (optional)
- Wooden stakes (optional for larger beds)
Step 1: Choose Your Location Start by selecting the right spot for your garden bed. Ideally, pick an area that gets at least six hours of direct sunlight each day if you're growing vegetables. Make sure the ground is level and free of debris. If the area isn't level, you may need to do some light grading to create a flat surface for your bed.
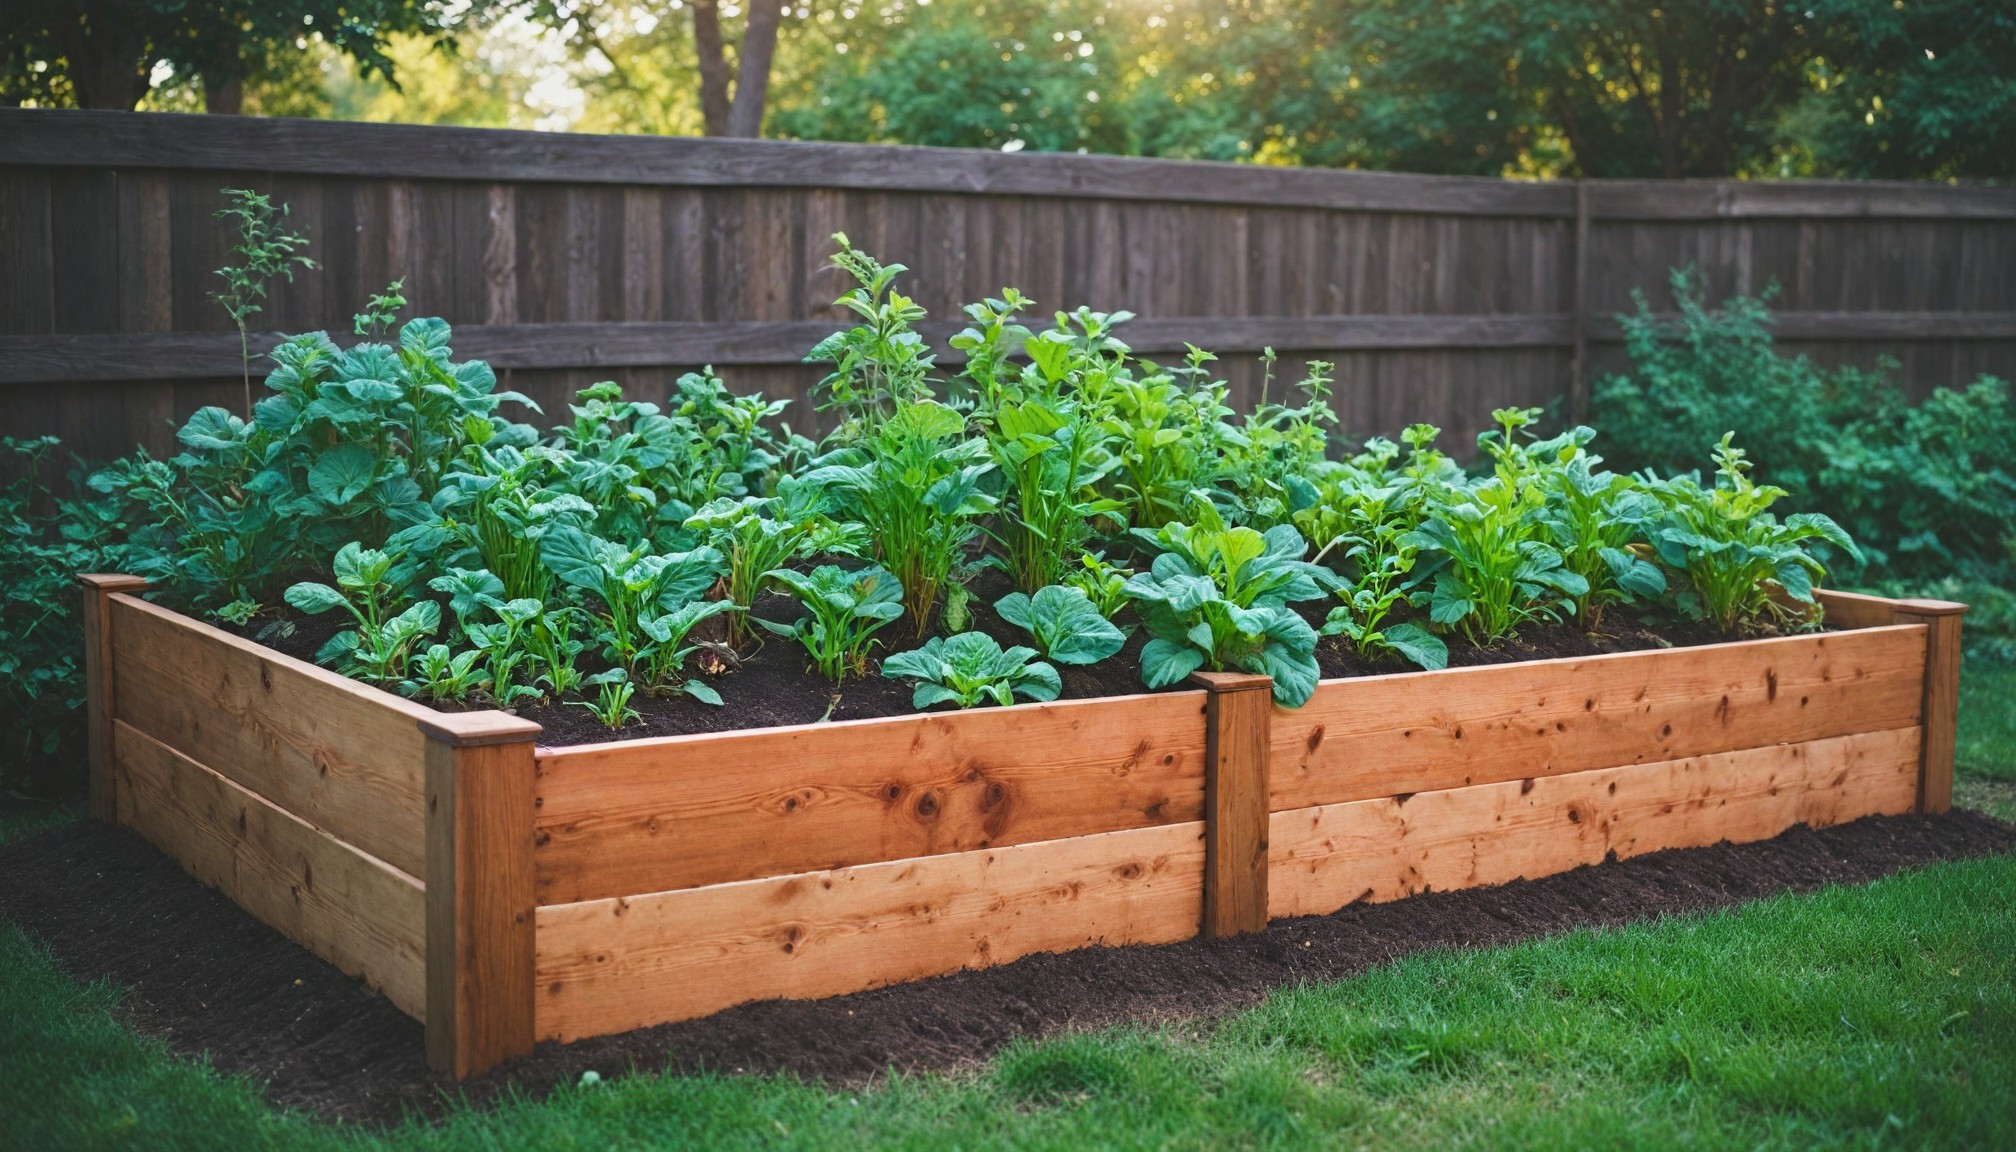
Step 2: Measure and Cut Your Wood Decide on the size of your raised garden bed based on the space available and what you plan to grow. A common size is 4 feet by 8 feet, which is large enough to grow a variety of plants but small enough to reach into without stepping inside. Measure your wooden boards to the desired length, and cut them if needed. For durability, use untreated cedar, redwood, or another rot-resistant wood.
Step 3: Assemble the Frame Once your wood is cut, it's time to assemble the frame. Lay the boards out in the shape of the bed. Drill pilot holes in the corners where the boards meet, and then use galvanized screws to secure them. Be sure to use screws that are rust-resistant to withstand outdoor elements. If your bed is longer than 6 feet, consider adding a middle support board or using stakes in the center to prevent bowing.
Step 4: Prepare the Ground If you’re concerned about weeds or grass growing into your raised bed, lay down a layer of landscape fabric at the bottom of the frame before filling it with soil. This fabric will act as a barrier without hindering drainage. For areas with poor soil drainage, you might also add a few inches of gravel at the bottom of the bed to further improve water flow.
Step 5: Fill the Bed with Soil Next, fill your raised bed with a mix of gardening soil and compost. Raised beds allow you to control the quality of soil more easily, so don’t be afraid to splurge on good-quality organic soil or create your own compost mixture. Aim for a soil depth of at least 12 inches, which is deep enough for most vegetables and flowers. You can also amend the soil with additional nutrients depending on what you’re planting.
Step 6: Plant Your Garden Now for the fun part—planting! Depending on the time of year, you can plant a wide variety of vegetables, herbs, or flowers in your raised bed. Consider grouping plants with similar water and sunlight needs together to make caring for them easier. Be sure to space your plants according to their recommended growing requirements to prevent overcrowding.
Step 7: Mulch and Water After planting, add a layer of mulch around your plants to help retain moisture and prevent weeds from growing. Organic mulch, like straw or wood chips, works well in raised garden beds. Finally, give your plants a thorough watering and monitor the soil’s moisture levels to ensure the plants thrive.
Step 8: Ongoing Maintenance One of the great things about raised beds is that they require less maintenance than traditional garden plots. However, regular watering, especially during dry periods, is essential. Check the soil’s moisture level a few inches below the surface to know when to water. You should also keep an eye on weeds and pests, though the raised height of the bed will naturally reduce these issues.
Conclusion: Building your own raised garden bed is a rewarding DIY project that enhances both your outdoor space and gardening experience. It offers numerous benefits, from better soil management to easier access for planting and harvesting. Whether you're growing fresh vegetables, fragrant herbs, or beautiful flowers, your raised garden bed will be a thriving centerpiece in your backyard for years to come. Happy gardening!
Recent articles from Gardening

Feng Shui: Plants in the Garden
Trees in the Garden
It is best to plant trees with a rounded crown in the garden, as they will harmonize with the other elements of the garden. If you do not live in a mountainous area, ...

The Scent of Calm: 12 Plants That Help Relieve Stress
Gallup Global Emotions Report 2023 found that 44% of people worldwide experienced "a lot of stress" the day before the survey—matching or exceeding previous highs. Stress levels...

Designing a Seasonal Pollinator Garden: Year-Round Strategies for Supporting Local Wildlife
Introduction: A seasonal pollinator garden is designed to offer continuous support to pollinators throughout the year, providing them with essential resources as the seasons cha...