How to Cut Beautiful Paper Snowflakes: 5 Ideas and Helpful Tips
Intricate snowflakes are a festive symbol of the upcoming New Year. They're perfect for decorating windows, walls, or even hanging on a Christmas tree. The process of cutting snowflakes is also a wonderful family activity, helping children develop spatial thinking and fine motor skills. Here's how to create stunning snowflakes using plain or decorative paper.
General Principles
- Fold a sheet of paper in half and press the crease firmly for a sharp fold.
- Fold it again perpendicularly to the first fold and press the crease firmly.
- The intersection of the fold lines will be the snowflake's peak. Mark or remember this point.
- Rotate the resulting diamond shape so the marked corner is at the top.
- Fold the sides together to form an elongated triangle.
- Trim any excess to make all folded edges equal in length. You can also round the edges if desired.
- Cut off the tip with the marked corner; this will be the center of the snowflake.
- Unfold your base to understand its structure, making it easier to customize your unique snowflake design.
Fun Fact
A standard sheet of paper can typically only be folded 7–8 times. The Guinness World Record for folding paper is 12 times!
What You’ll Need
- Pencil for sketching
- Sharp, thin scissors (manicure scissors work well)
- Various types of paper: tracing paper, tissue paper, double-sided colored paper, foil, or craft paper
- Decorative ribbons (satin, velvet, grosgrain, etc.)
- Hole punch
- Lighter
- Ink or gel pens for decoration
- Double-sided tape or PVA glue (a glue stick works too)
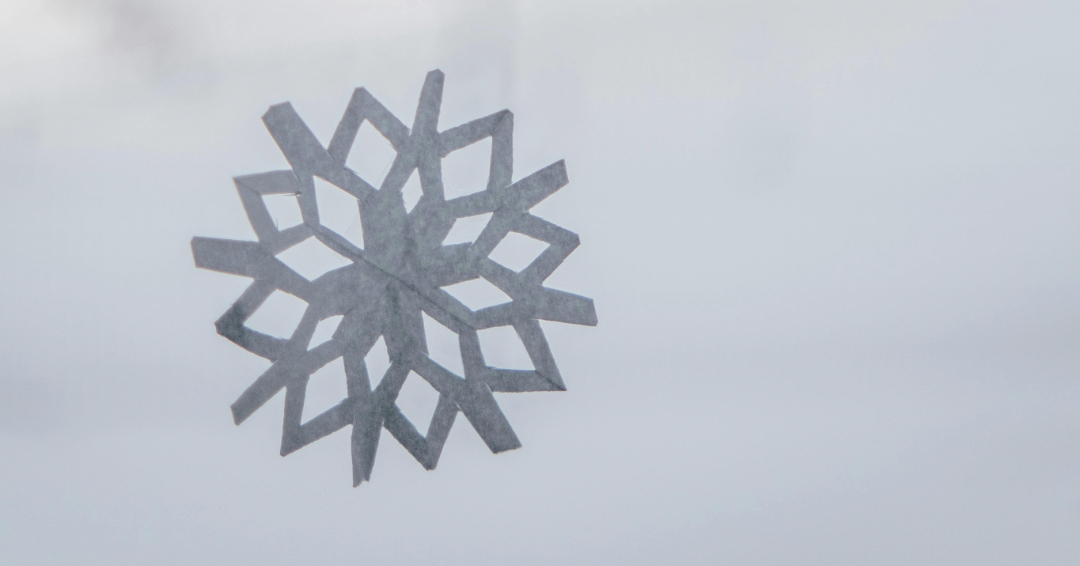
1. Classic Paper Snowflake
Use a pre-made pattern or create your own. You can mimic natural snowflake patterns or get creative with shapes like anchors, airplanes, fish, or mermaids. Draw half of your chosen symmetrical pattern on the folded edge of the snowflake and cut along the outline. For extra flair, use foil or colored cardboard instead of plain paper.
Tip: Stick classic snowflakes on windows using double-sided tape.
2. Snowflake Ornament for the Tree
For tree decorations, use thick cardboard. Choose simple templates to complement the material's texture. After cutting out the snowflake, flatten it and punch a hole in one "arm." Cut ribbon into 12 cm pieces, singe the ends with a lighter, and thread through the hole, tying the ends in a knot. Your ornaments are ready!
3. 3D Paper Snowflake
- Prepare six identical paper squares.
- Fold each square diagonally, then fold again.
- Make three parallel cuts along the folded edge, leaving a small uncut margin.
- Unfold the pieces and glue the corners of each cut section together to create a 3D effect.
- Glue the six pieces together at the center to form a snowflake. Alternatively, use tape for added durability.
These snowflakes are great for hanging from the ceiling using thread and double-sided tape.
4. Giant Lacy Snowflakes
- Create a stencil from cardboard for your design.
- Cut 12 identical rectangles from sturdy paper.
- Fold each rectangle lengthwise, trace the stencil, and cut out the pattern.
- Fold each piece in half lengthwise and glue or tape the edges together.
- Assemble six pieces into one half and repeat for the other half. Glue both halves together for a large, intricate snowflake.
5. Paper Christmas Wreath
For a unique alternative, make a paper wreath featuring Christmas or winter-themed designs like snowmen, Santa’s reindeer, or birds. These decorations look stunning on doors or beneath traditional evergreen wreaths.
Example: Create a swallow motif, a symbol of renewal and home. Fold thin paper (like tracing paper) and sketch a swallow with wings and a split tail. Ensure its beak aligns with the snowflake's center and the tail splits symmetrically along the fold. Cut and unfold to reveal a pattern of four swallows flying towards the center. Paint details using watercolor or ink pens for a striking effect.
Recent articles from Diy
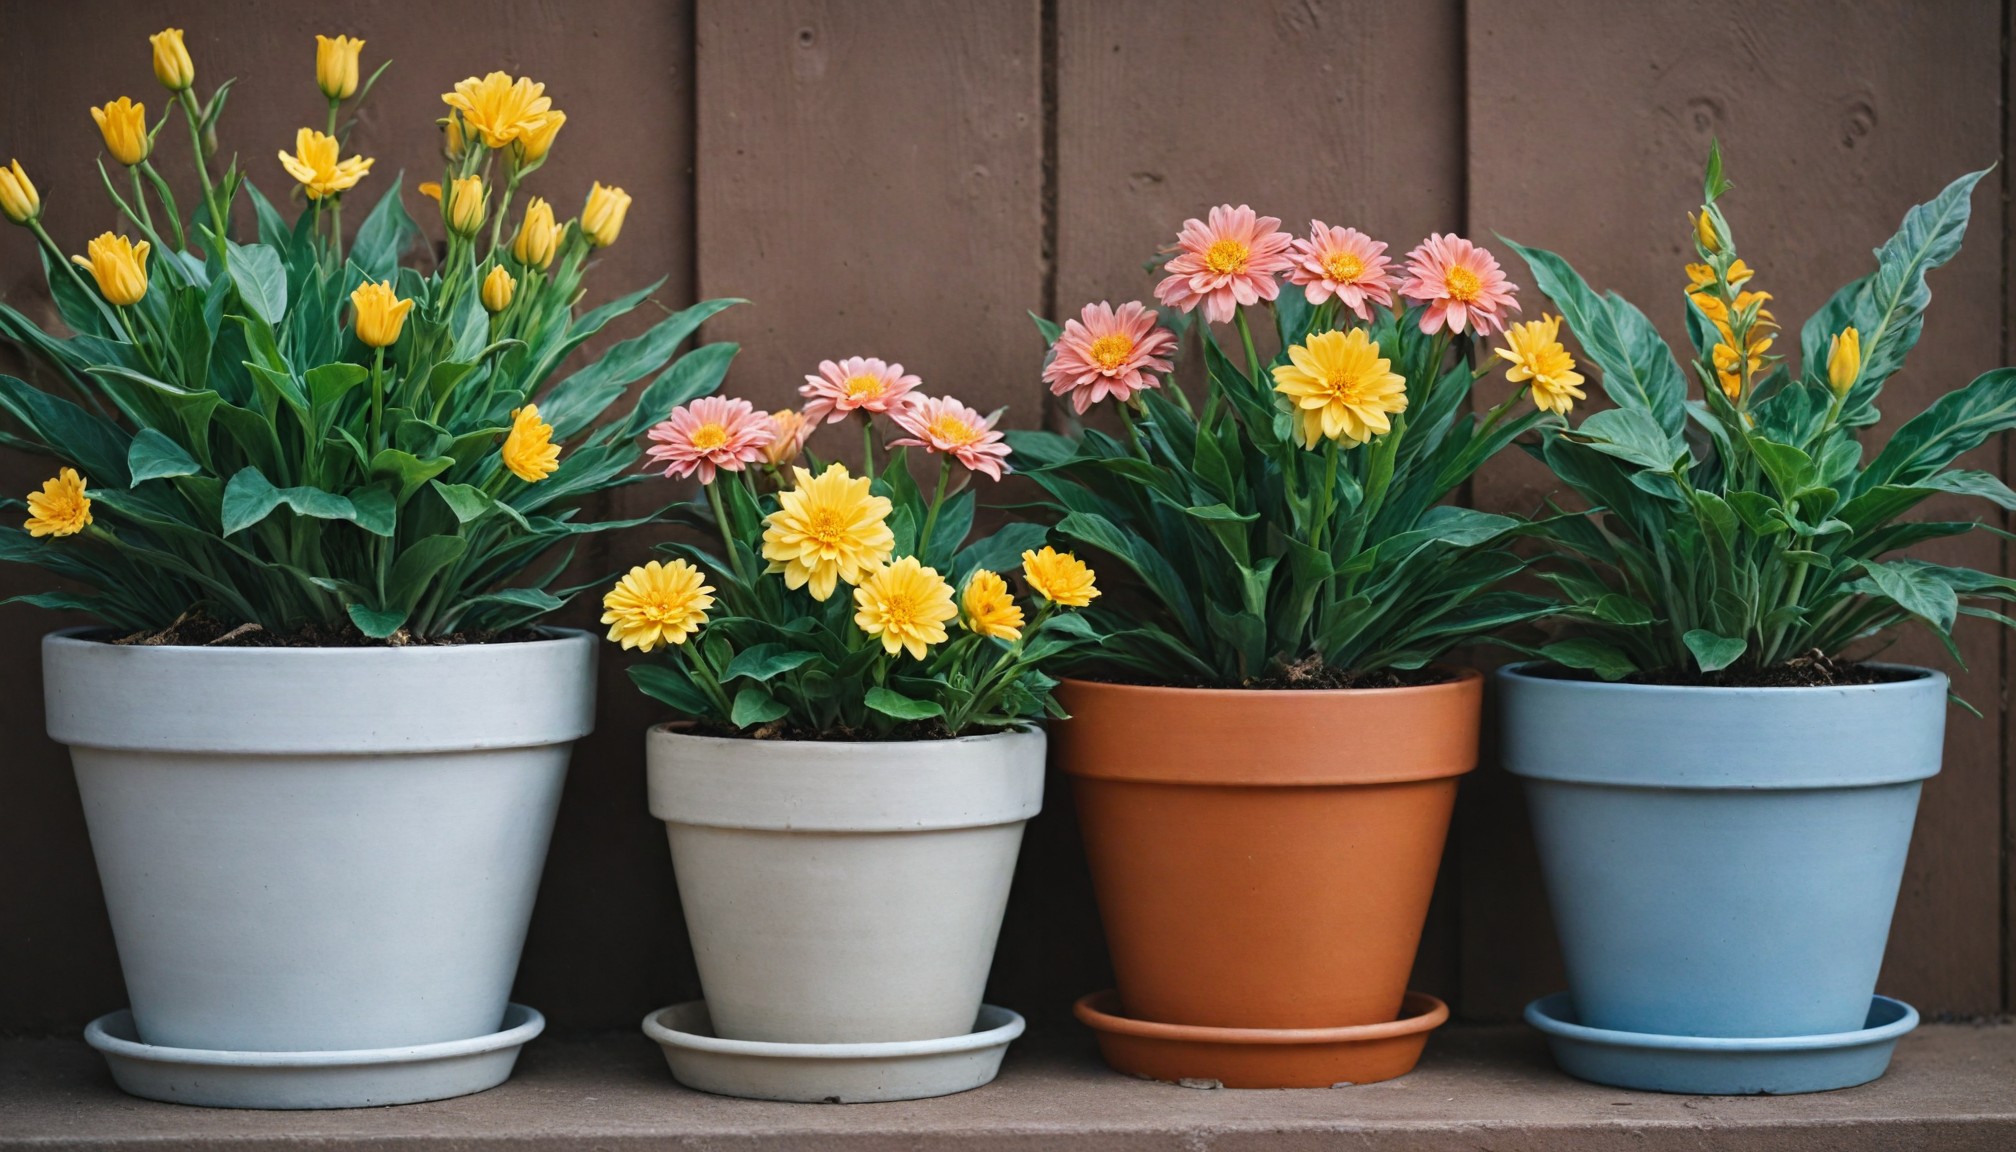
Magazine Flower Pots
A creative and eco-friendly way to reuse old magazines
Tired of using the same old flower pots? Turn your old magazines into unique and stylish planters! It's a simple and...
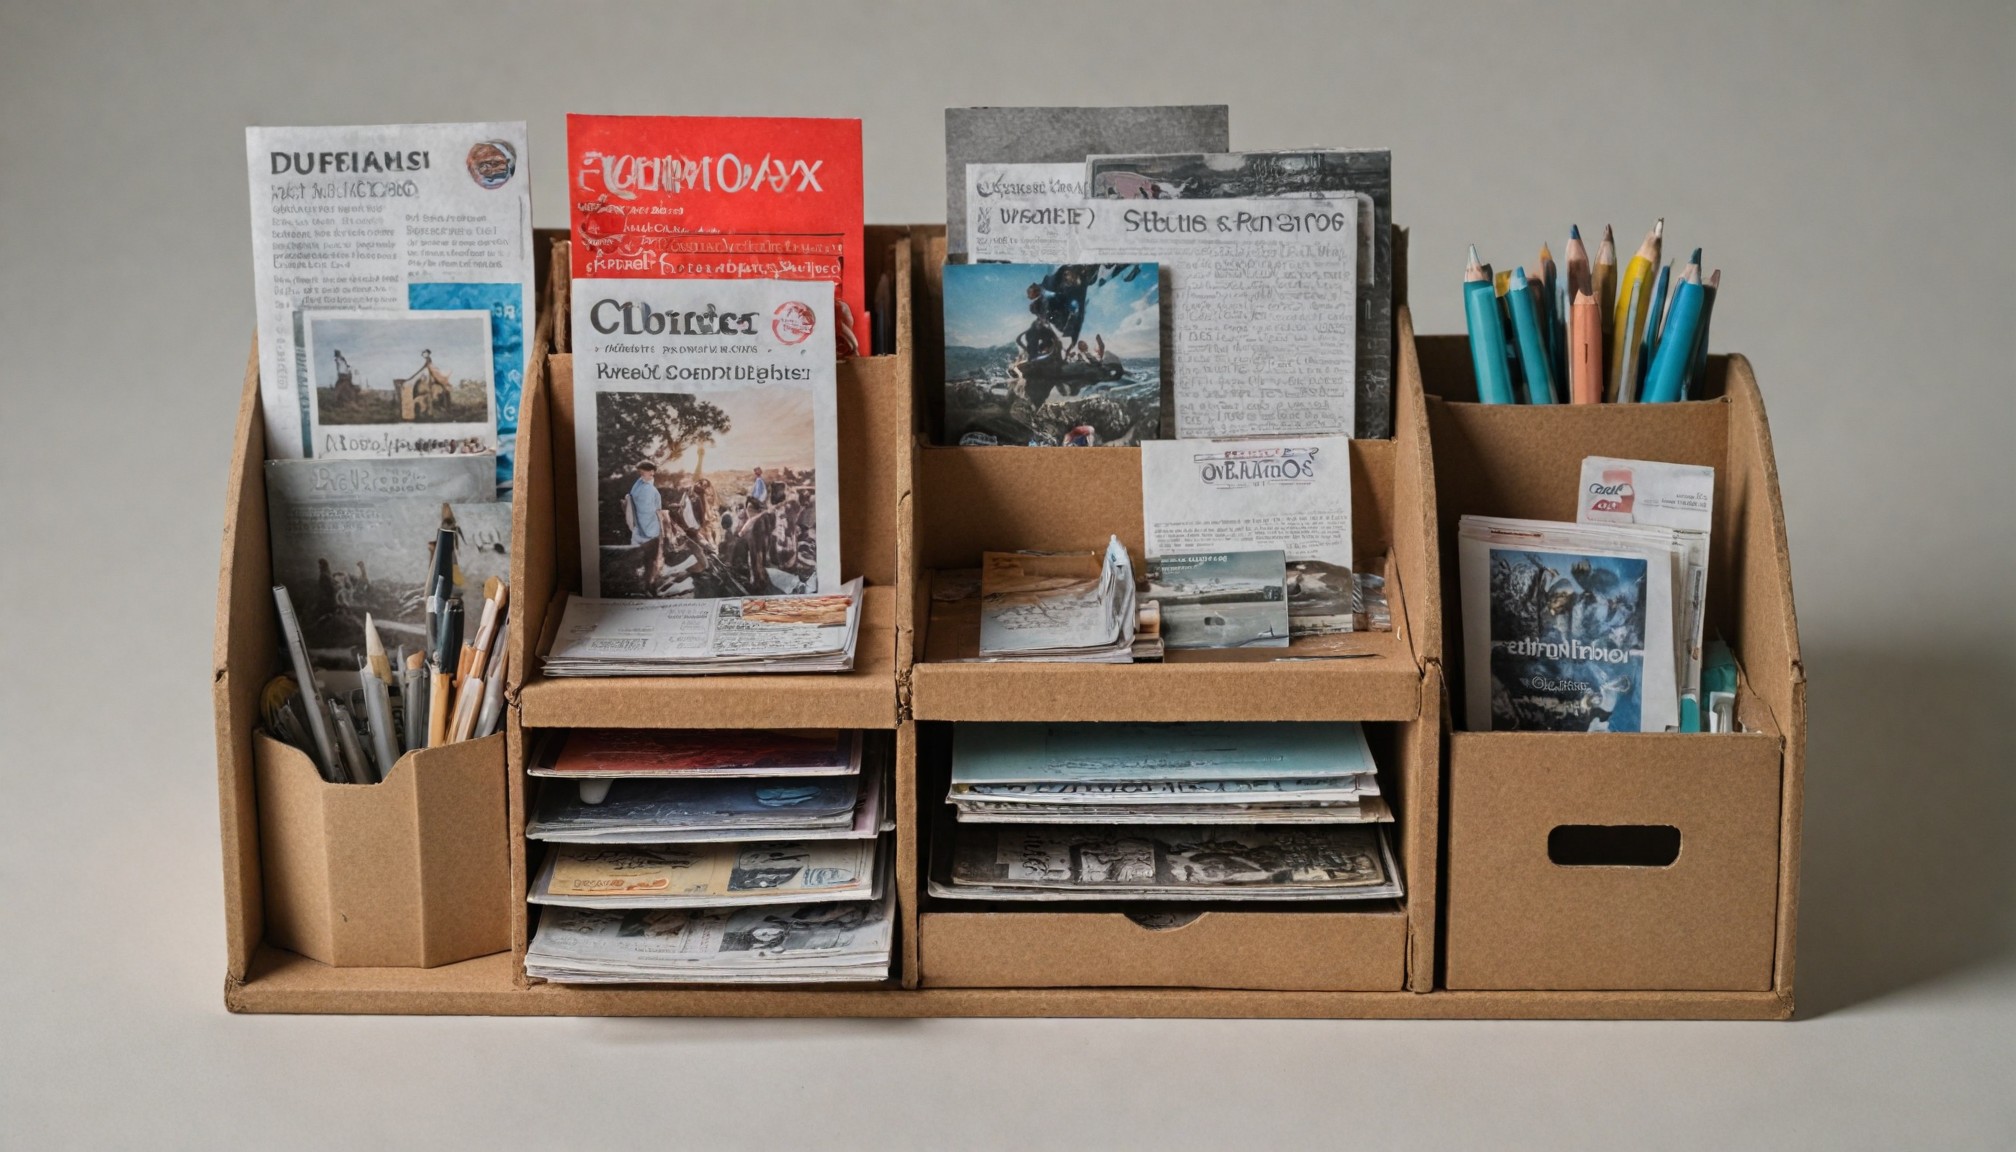
Make a Desk Organizer from Recycled Materials
If your kids are looking for a simple yet useful project to do at home, making a desk organizer is a great idea! Using common household materials, they can create a functional and eco-friendly s...
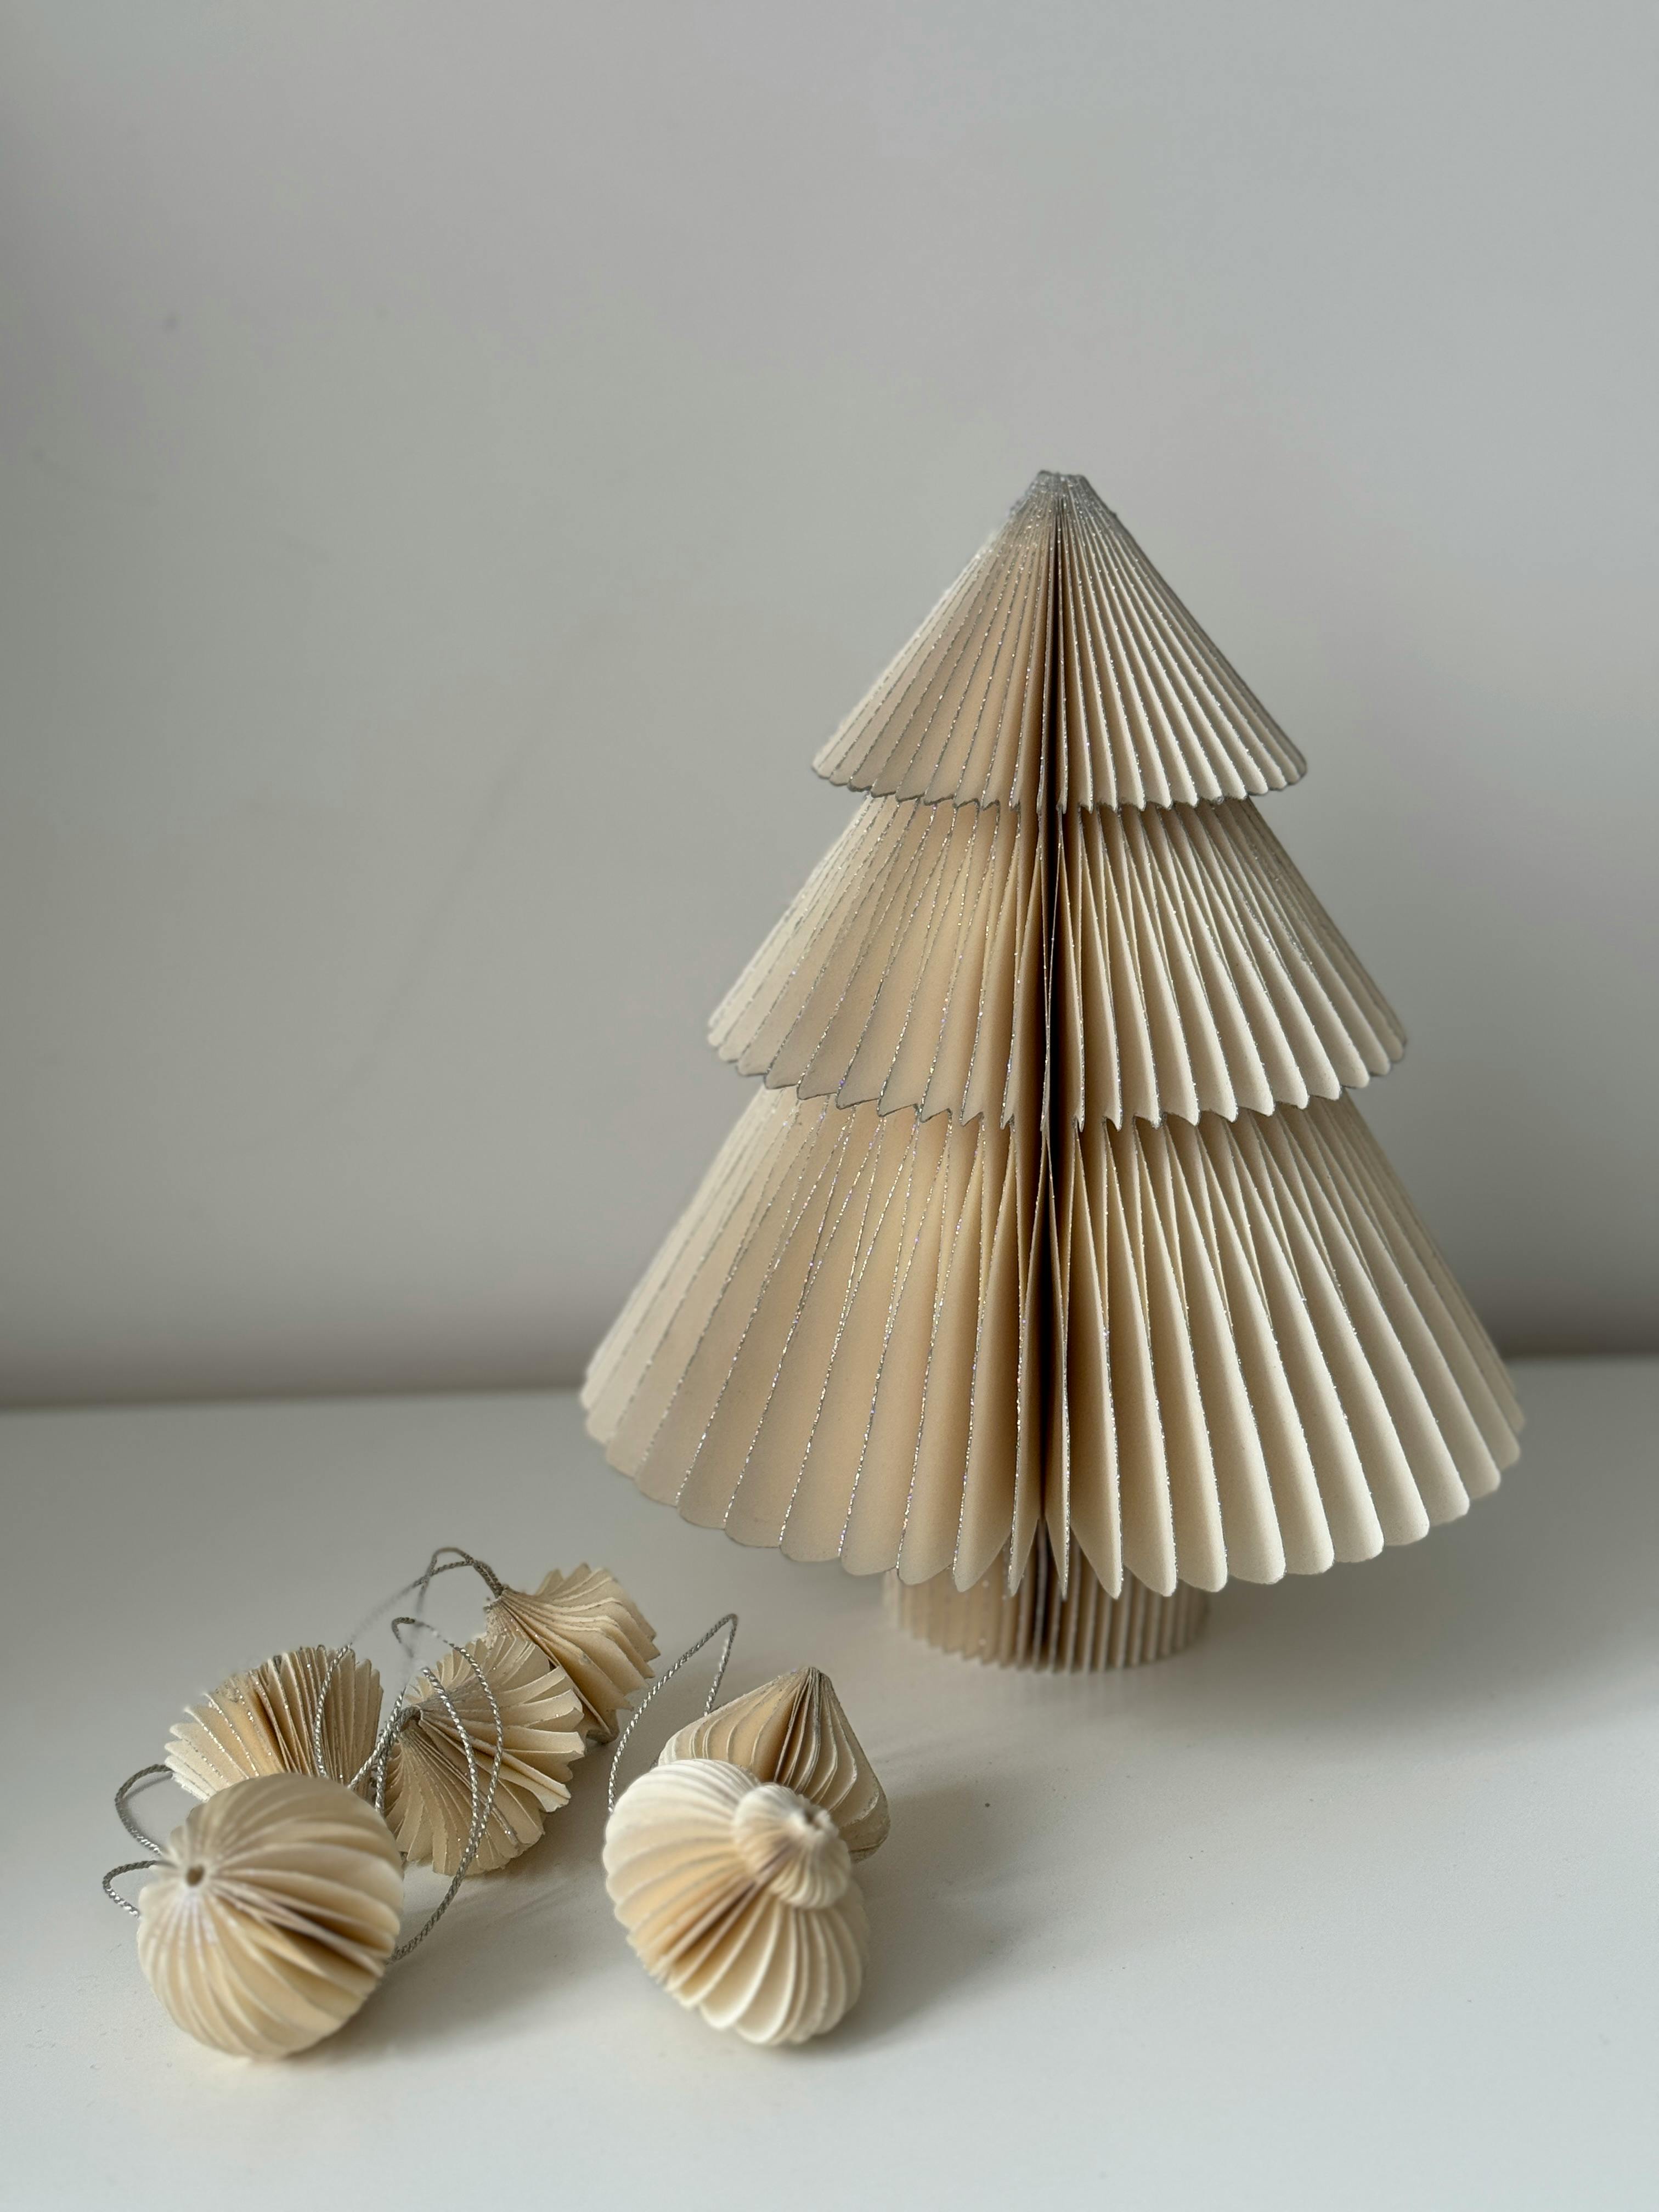
How to Make Beautiful Christmas Ornaments
Decorating a Christmas tree is an enjoyable process: you can sift through and hang ornaments bought by your mothers and grandmothers or create new ornaments yourself to enhance the traditional t...