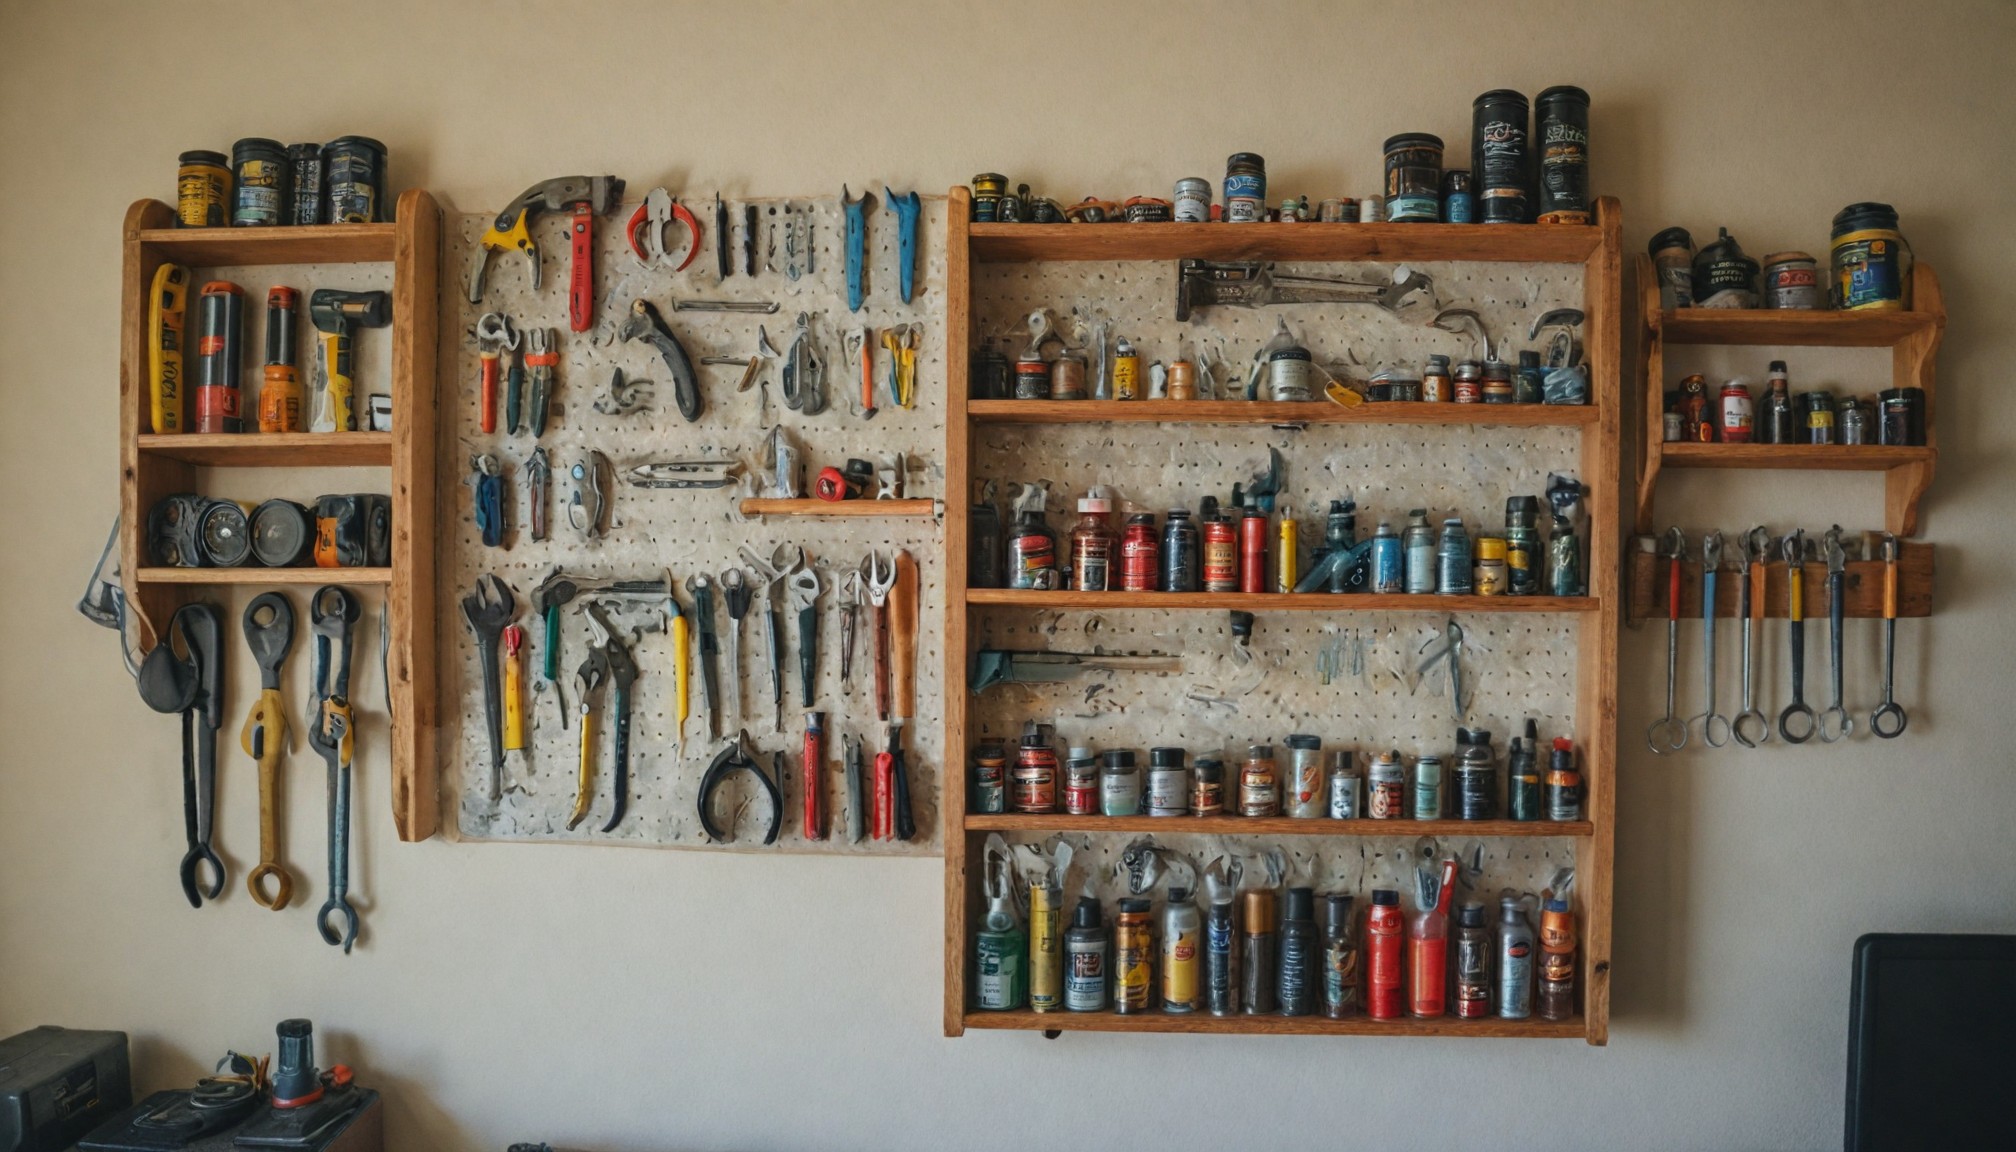
How to Build a DIY Wall-Mounted Tool Organizer
Introduction: If your garage or workshop is cluttered with tools scattered everywhere, a DIY wall-mounted tool organizer could be the solution you need. This simple yet effective project helps keep all your tools within easy reach, neatly displayed, and organized. It’s perfect for those who love DIY projects and want to work in an efficient, organized space. With just a few materials, you can create a custom tool organizer that fits all your essential gear. Let’s get started!
Materials Needed:
- A plywood board (3/4-inch thick)
- Pegboard (optional)
- Wooden dowels or metal hooks
- Screws and a drill
- Measuring tape
- Circular saw (if you need to cut the wood)
- Wood glue (optional)
- Paint or stain (optional)
- Wall anchors (if needed for heavier loads)
Step 1: Measure and Cut the Plywood Start by measuring the space where you want to hang your tool organizer. A good size for a basic organizer is 4 feet wide by 2 feet tall, but adjust based on your available wall space and tool collection. Once you’ve decided on the dimensions, cut the plywood to size. Sand the edges for a smooth finish.
Step 2: Plan Your Layout Before attaching anything, lay out all the tools you want to hang on your organizer. This can include hammers, wrenches, screwdrivers, pliers, and more. Plan the placement of hooks, dowels, or any shelves so that you can easily access each tool. You can even trace the outlines of the tools onto the board with a pencil to create a guide for where everything will go.
Step 3: Attach Pegboard (Optional) If you want a more versatile design, consider adding a pegboard over the plywood. Pegboards make it easy to rearrange tools as your collection grows or changes. Simply screw the pegboard to the plywood using small screws, ensuring it’s securely attached on all sides. The pegboard holes will allow for easy installation of hooks or other tool hangers.
Step 4: Install Hooks and Dowels For tools like hammers and screwdrivers, install metal hooks or drill holes for wooden dowels into the plywood. Wooden dowels work well for hanging items such as tape measures, pliers, and even small power tools. For longer tools like levels or saws, you can create custom wooden brackets by cutting small wooden blocks and screwing them into the board.
Step 5: Create Shelves or Storage Cubbies (Optional) If you want extra storage for small items like nails, screws, or tape, add a small shelf or cubby to the organizer. You can use scrap wood to build a simple shelf and secure it to the plywood using screws and wood glue. Another option is attaching small bins or containers to the board for holding loose items.
Step 6: Paint or Stain (Optional) To give your tool organizer a polished look, you can paint or stain the plywood. Choose a color that matches your garage or workshop decor, or go for a natural wood finish to keep things simple. Be sure to allow the paint or stain to dry completely before hanging any tools.
Step 7: Mount the Organizer Now it’s time to mount your tool organizer on the wall. Use a level to ensure it’s straight, and drill pilot holes into the wall where the screws will go. If your organizer is heavy or you plan to hang large tools, make sure to screw directly into wall studs or use wall anchors for added support. Secure the organizer tightly to the wall.
Step 8: Hang Your Tools Once your organizer is securely mounted, it’s time to hang your tools. Place each tool in its designated spot according to your layout. Make sure that frequently used tools are easy to reach, while larger or less-used items can go higher or lower on the board.
Conclusion: With just a little time and effort, you’ve created a custom DIY wall-mounted tool organizer that will help keep your garage or workshop tidy and efficient. Not only does it save space, but it also makes it easier to find and access your tools when tackling your next project. Whether you’re a weekend DIY enthusiast or an experienced handyman, this organizer will make your workspace much more functional. Enjoy the satisfaction of a clutter-free, well-organized tool station!
Recent articles from Diy

Sweet DIY New Year Gifts / 7 Festive Ideas
In December, many of us are busy searching for holiday gifts for friends and family. We spend hours wandering through stores, unsure of what to choose. Often, the most memorable gifts are the on...

Natural Insect Repellent Spray for Home Use
Introduction: Tired of pesky insects invading your home but want to avoid chemical-laden repellents? A DIY natural insect repellent spray is the perfect solution. Not only is it...

DIY: Repurposed Tin Can Bird Feeders
A fun and eco-friendly way to attract feathered friends to your garden
Looking for a simple and sustainable way to attract birds to your backyard? Repurposing old tin cans...